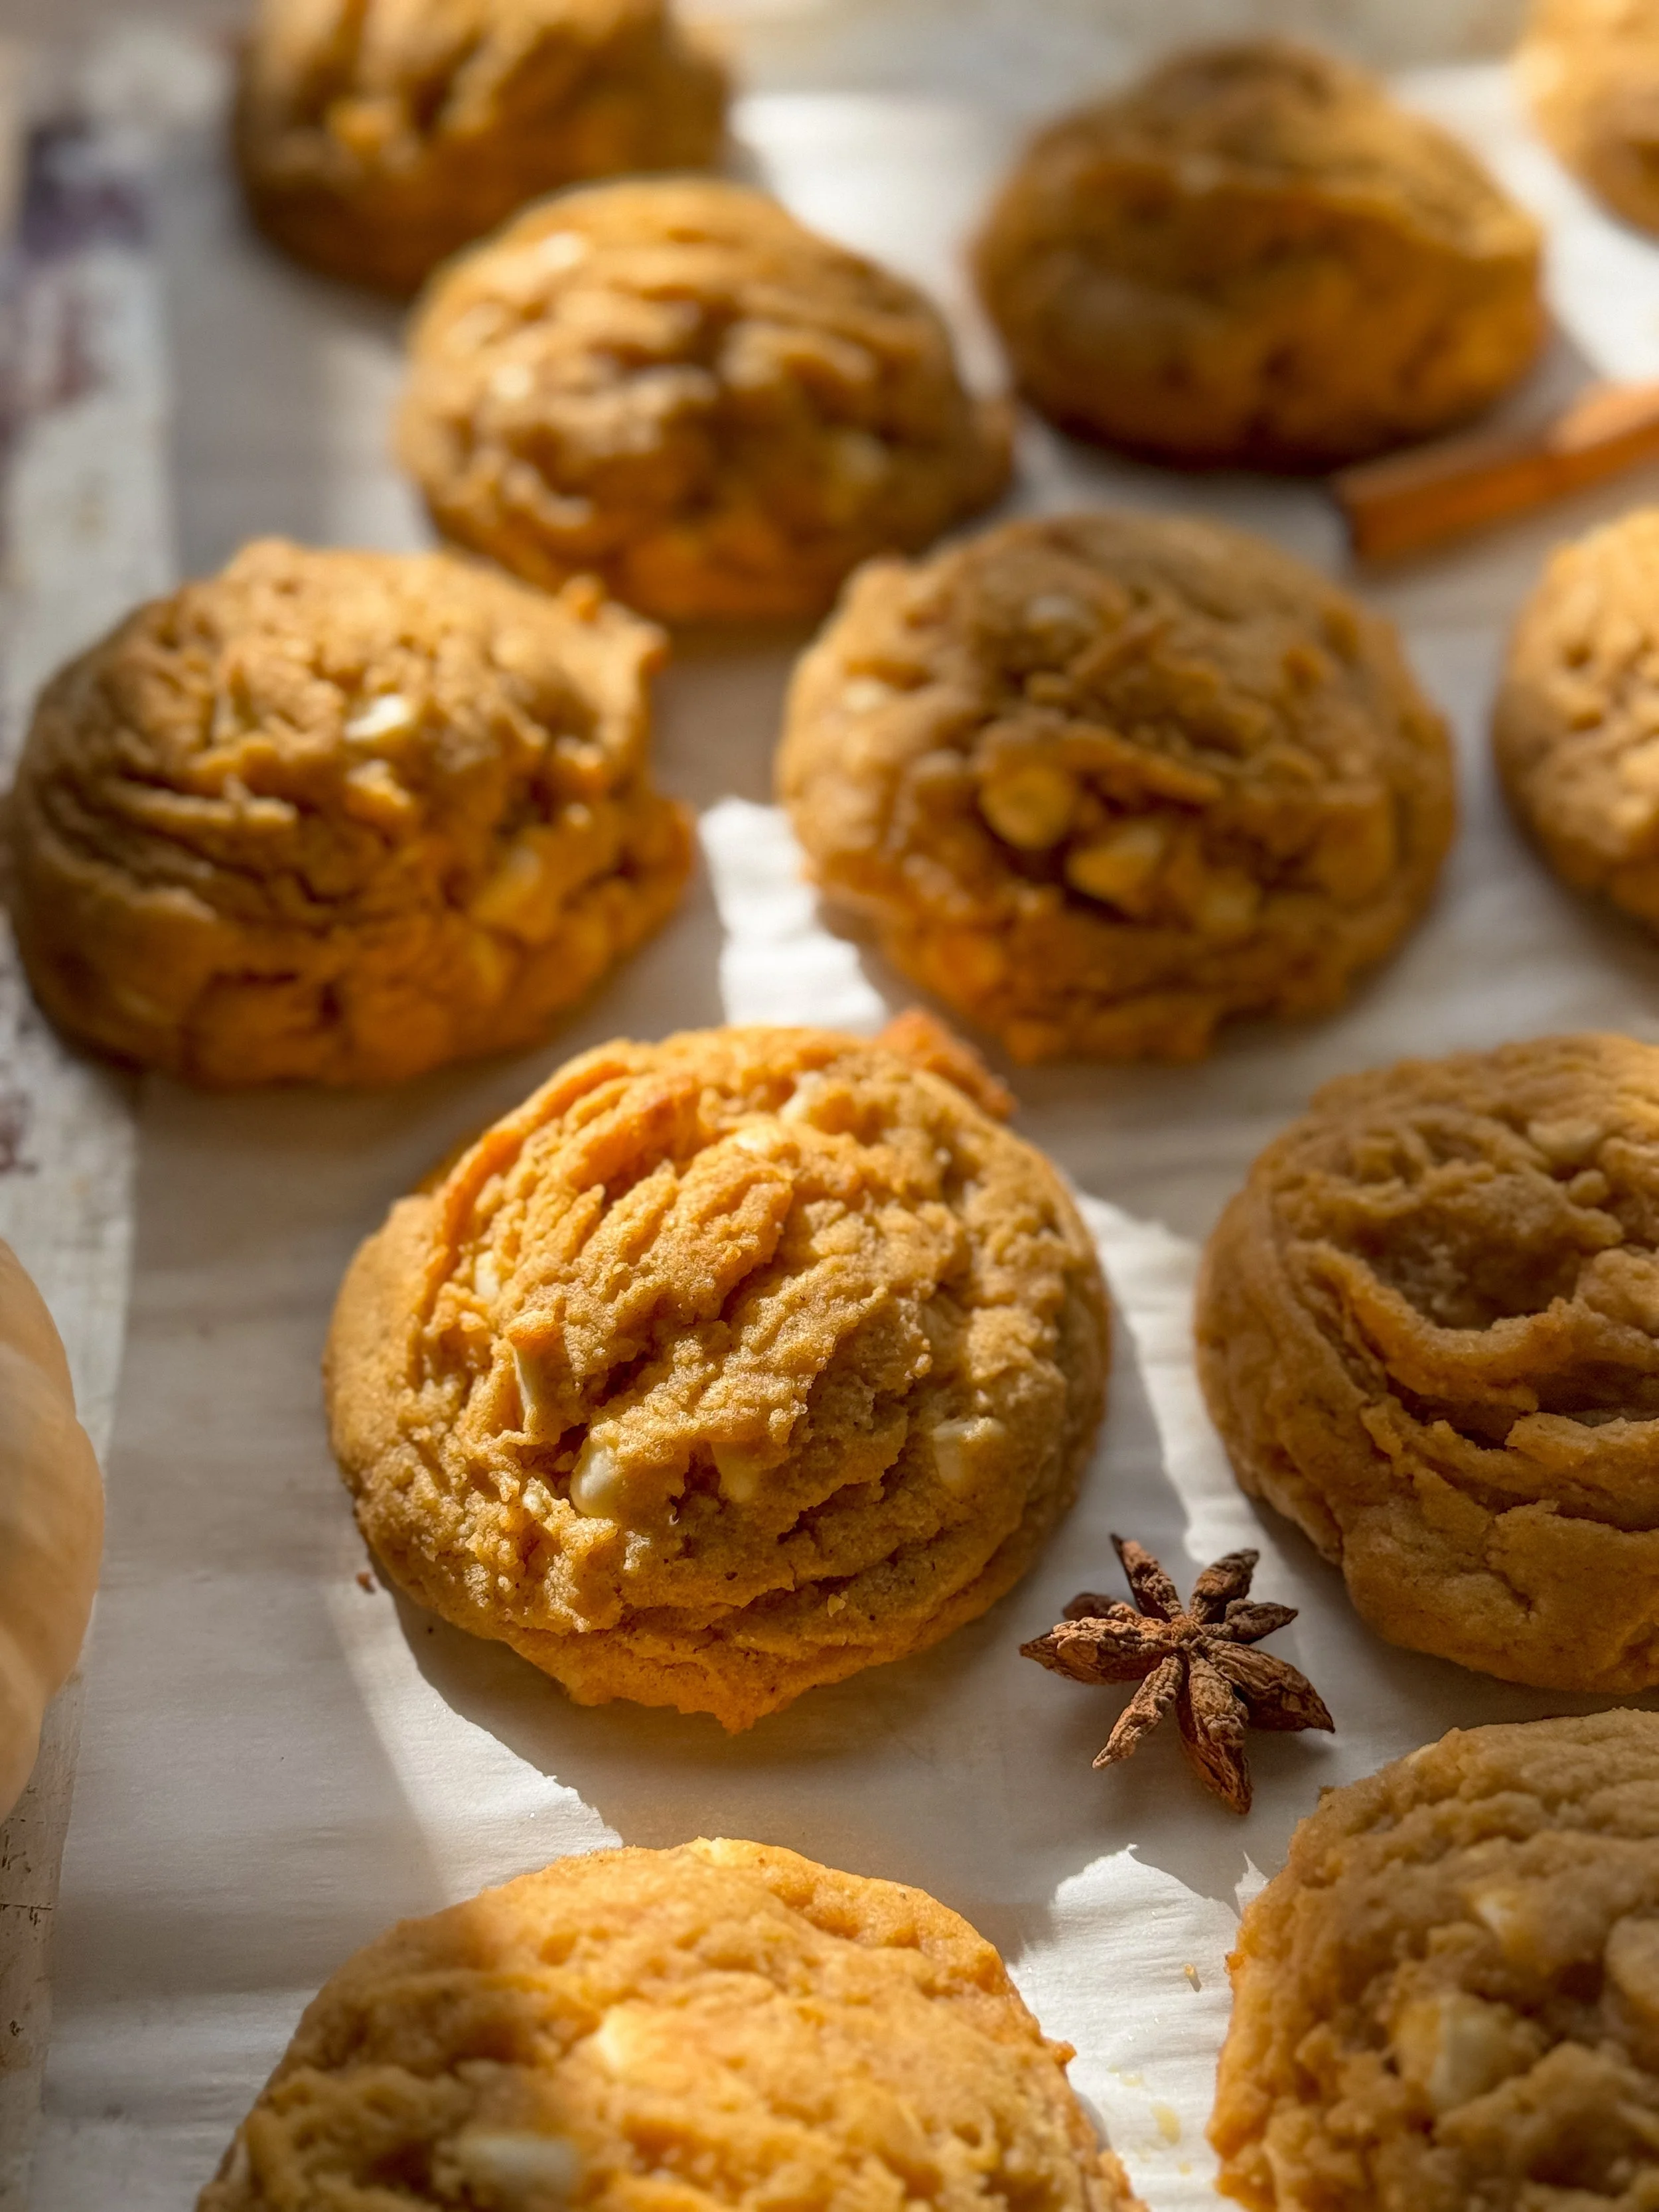
Brown Butter Pumpkin White Chocolate Chip Cookies
Soft and chunky pumpkin spiced cookies with white chocolate chips and chewy edges made with pumpkin butter. Makes 20 cookies.
This post may contain affiliate links. Read the disclosure policy here.
I may never tire of coming up with new cookie recipes, especially variations of chocolate chip cookies. I came up this recipe when I had begun to make a Chewy Pumpkin Cookie recipe, then decided halfway through starting that I wanted to see what would happen if I combined the recipe with my Thick and Chunky Chocolate Chip Cookie recipe. No one could stop eating them (especially me—they were my dinner one night), and they were all gone in two days.
It was actually unfortunate that these cookies were so good as I really try not to develop recipes where you have to brown and chill the butter. This process makes the recipe take so much longer, which means people are less likely to make it. If knowing the why helps you get through the tedium, then I’ll tell you that browning the butter does a couple of crucial things for this recipe:
Creates the toasted caramel notes that go oh so perfectly with pumpkin spice
Removes water from the butter so the cookie doesn’t spread too much from the addition of the pumpkin butter
Chilling the butter is also crucial because it helps the cookie get that thick and chunky texture from the addition of air into the butter and sugar. Let me know what you think of this recipe in the comments!
Ingredients:
1 cup (2 sticks; 226gr) unsalted butter, to be browned
1/2 cup pumpkin butter
1/2 cup (110gr) granulated sugar
1 cup (220gr) brown sugar, packed
3 large egg yolks
2 tsp vanilla extract
1/2 tsp baking soda
1/2 tsp baking powder
1 1/4 teaspoon sea salt
3 1/2 cups (480 gr) all-purpose flour
4 tsp pumpkin spice
12 oz (1 1/2 cups) white chocolate chips (these are my favorite)
Method
Preheat the oven to 375°F (190°C) and line two baking sheets with parchment paper.
Brown butter: Start by setting to the side a medium heat proof bowl. Add the butter to a medium light bottomed saucepan over medium heat (see explanation on browning butter if needed), and melt, stirring occasionally with a rubber spatula and scraping the sides and bottom. Once the butter starts to foam, and the crackling slows down to a polite applause, remove the pan from the heat and pour all of the butter into the heat proof bowl. Be sure to scrape up all the browned bits from the bottom and get it into the mixing bowl--that's where you'll get the caramel flavor.
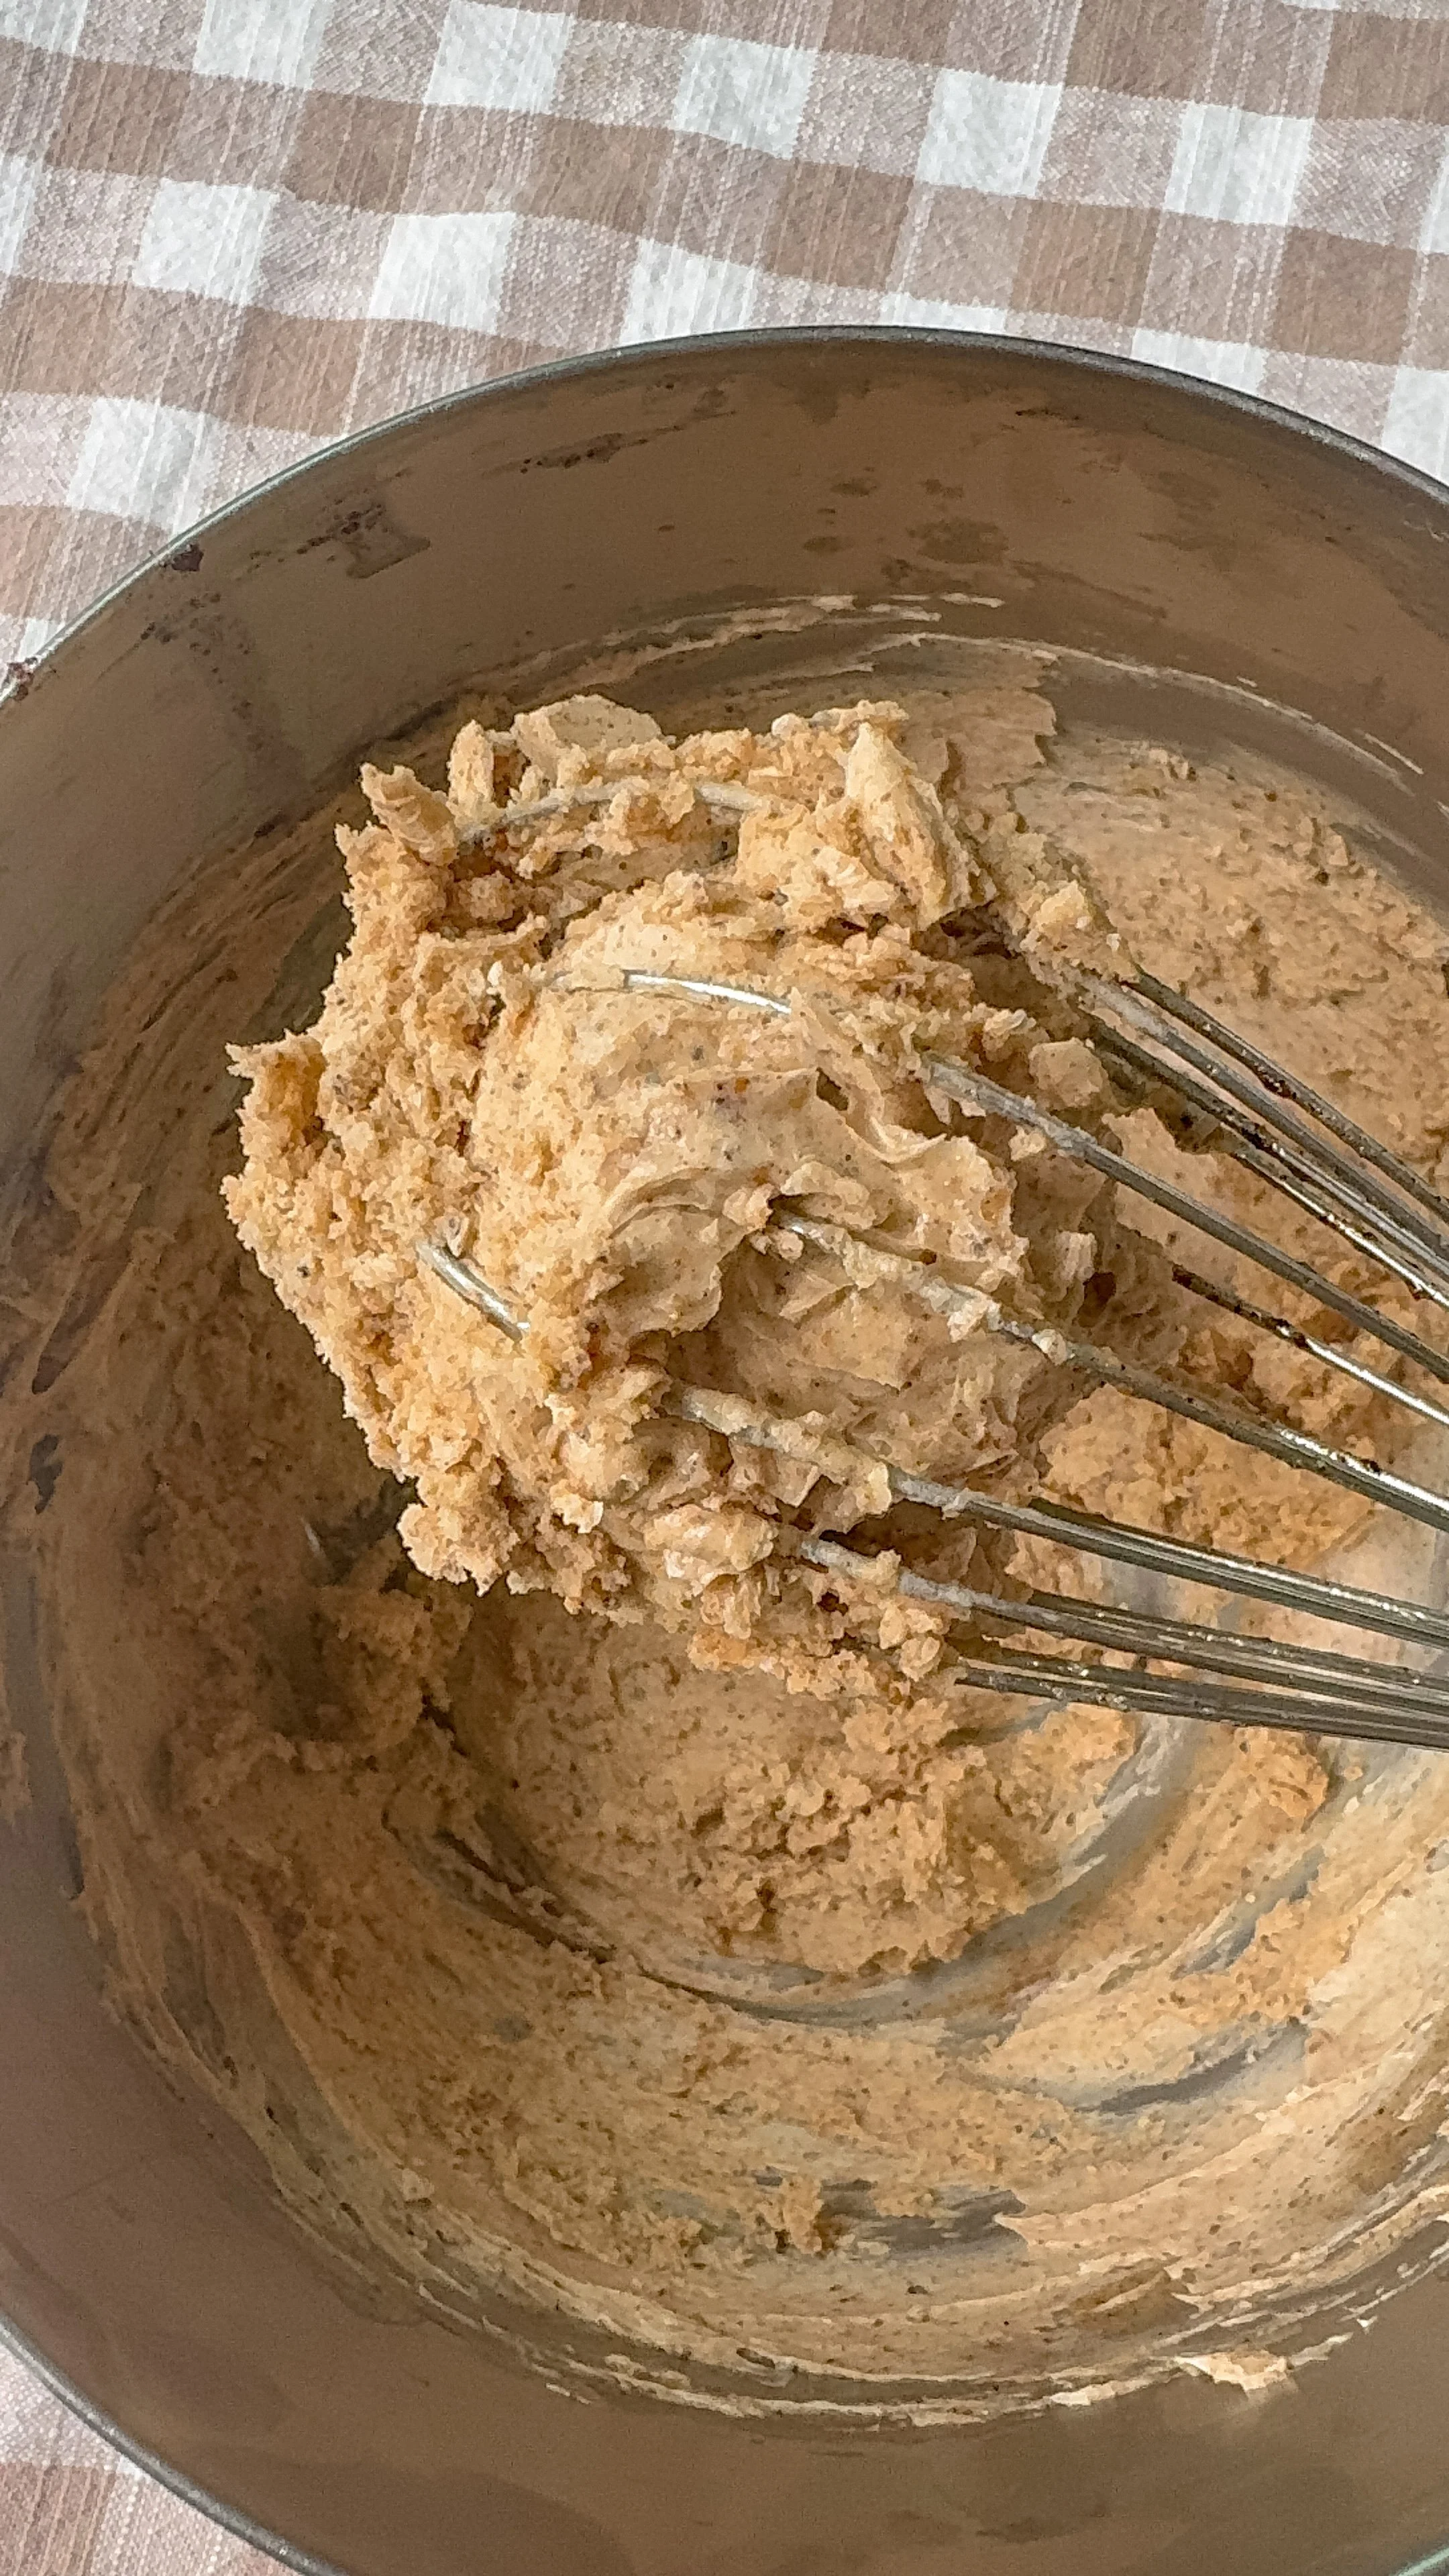
To quickly chill butter: Prepare a large bowl with a couple of handfuls of ice and cold water, then place a medium-sized metal bowl in the ice water with the liquid browned butter. Start whisking immediately with a large balloon whisk or electric mixer on low. Keep whisking until the butter reaches room temperature, about 2 minutes.
If the butter starts to freeze to the sides, remove from the ice bath and continue whisking. Check the temperature of the butter, and return to the ice bath if it still feels warm to the touch. If the butter is still warm, it will liquify when the sugar is added and not be able to hold air, and you’ll miss out on the fluffy cookie texture. When the butter is at the right consistency, it should feel at least body temperature or a little bit cooler and have a whipped appearance (see below).
To chill the butter if you have more time: You can also place in the refrigerator for an hour, or the freezer for about 30 minutes until firm but will still indent when you touch it. You do not want it to be frozen or it will be too hard to mix. Once it is close, check every 5 minutes or so by pressing in the center. If the butter his liquid in the middle, it needs more time.

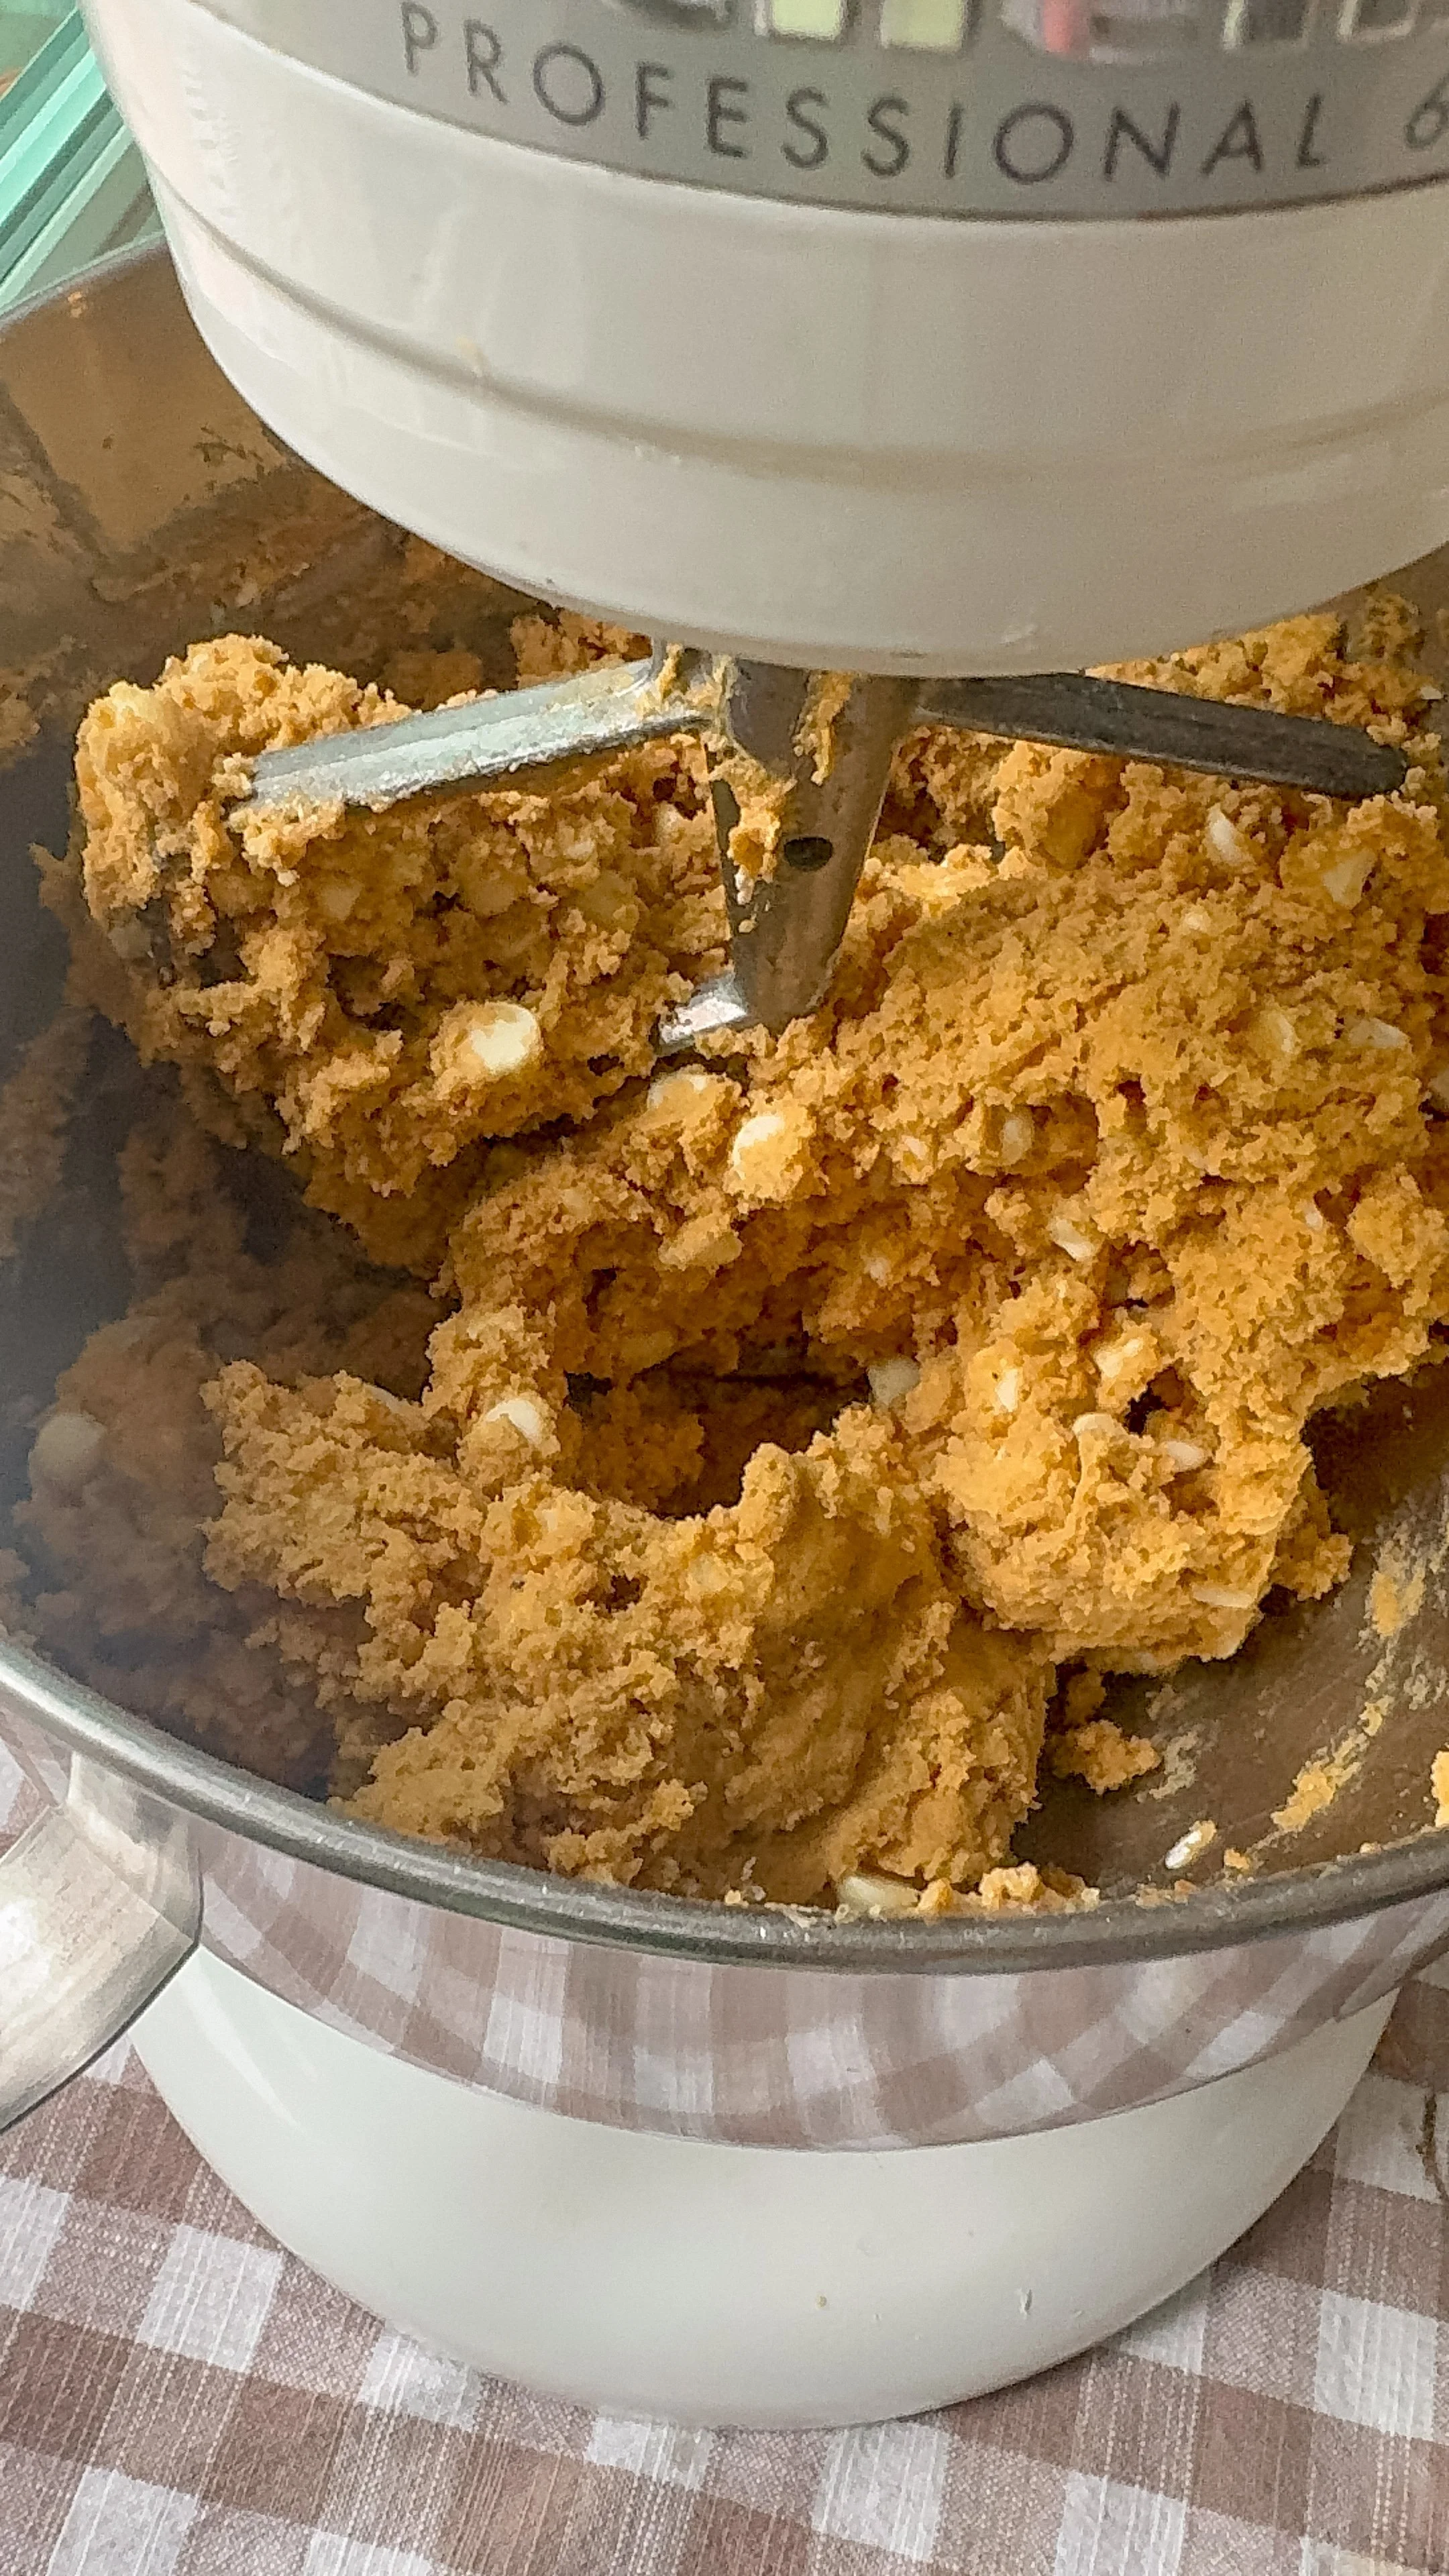
Once the butter has hardened, add browned butter, pumpkin butter, brown sugar, and granulated sugar to a stand mixer and mix on medium high for 3-5 minutes until the batter considerably lightens. Scrape the sides as needed. Add the egg yolks and vanilla, and mix for another 1-2 minutes until the batter is fluffy.
Add the sea salt, baking powder and baking soda and mix for 30 seconds. Then add the flour (fluff the flour with a fork before measuring, or measure by weight to be the most accurate), and mix on low until mostly combined. Then add the white chocolate chips and mix on low until just combined.
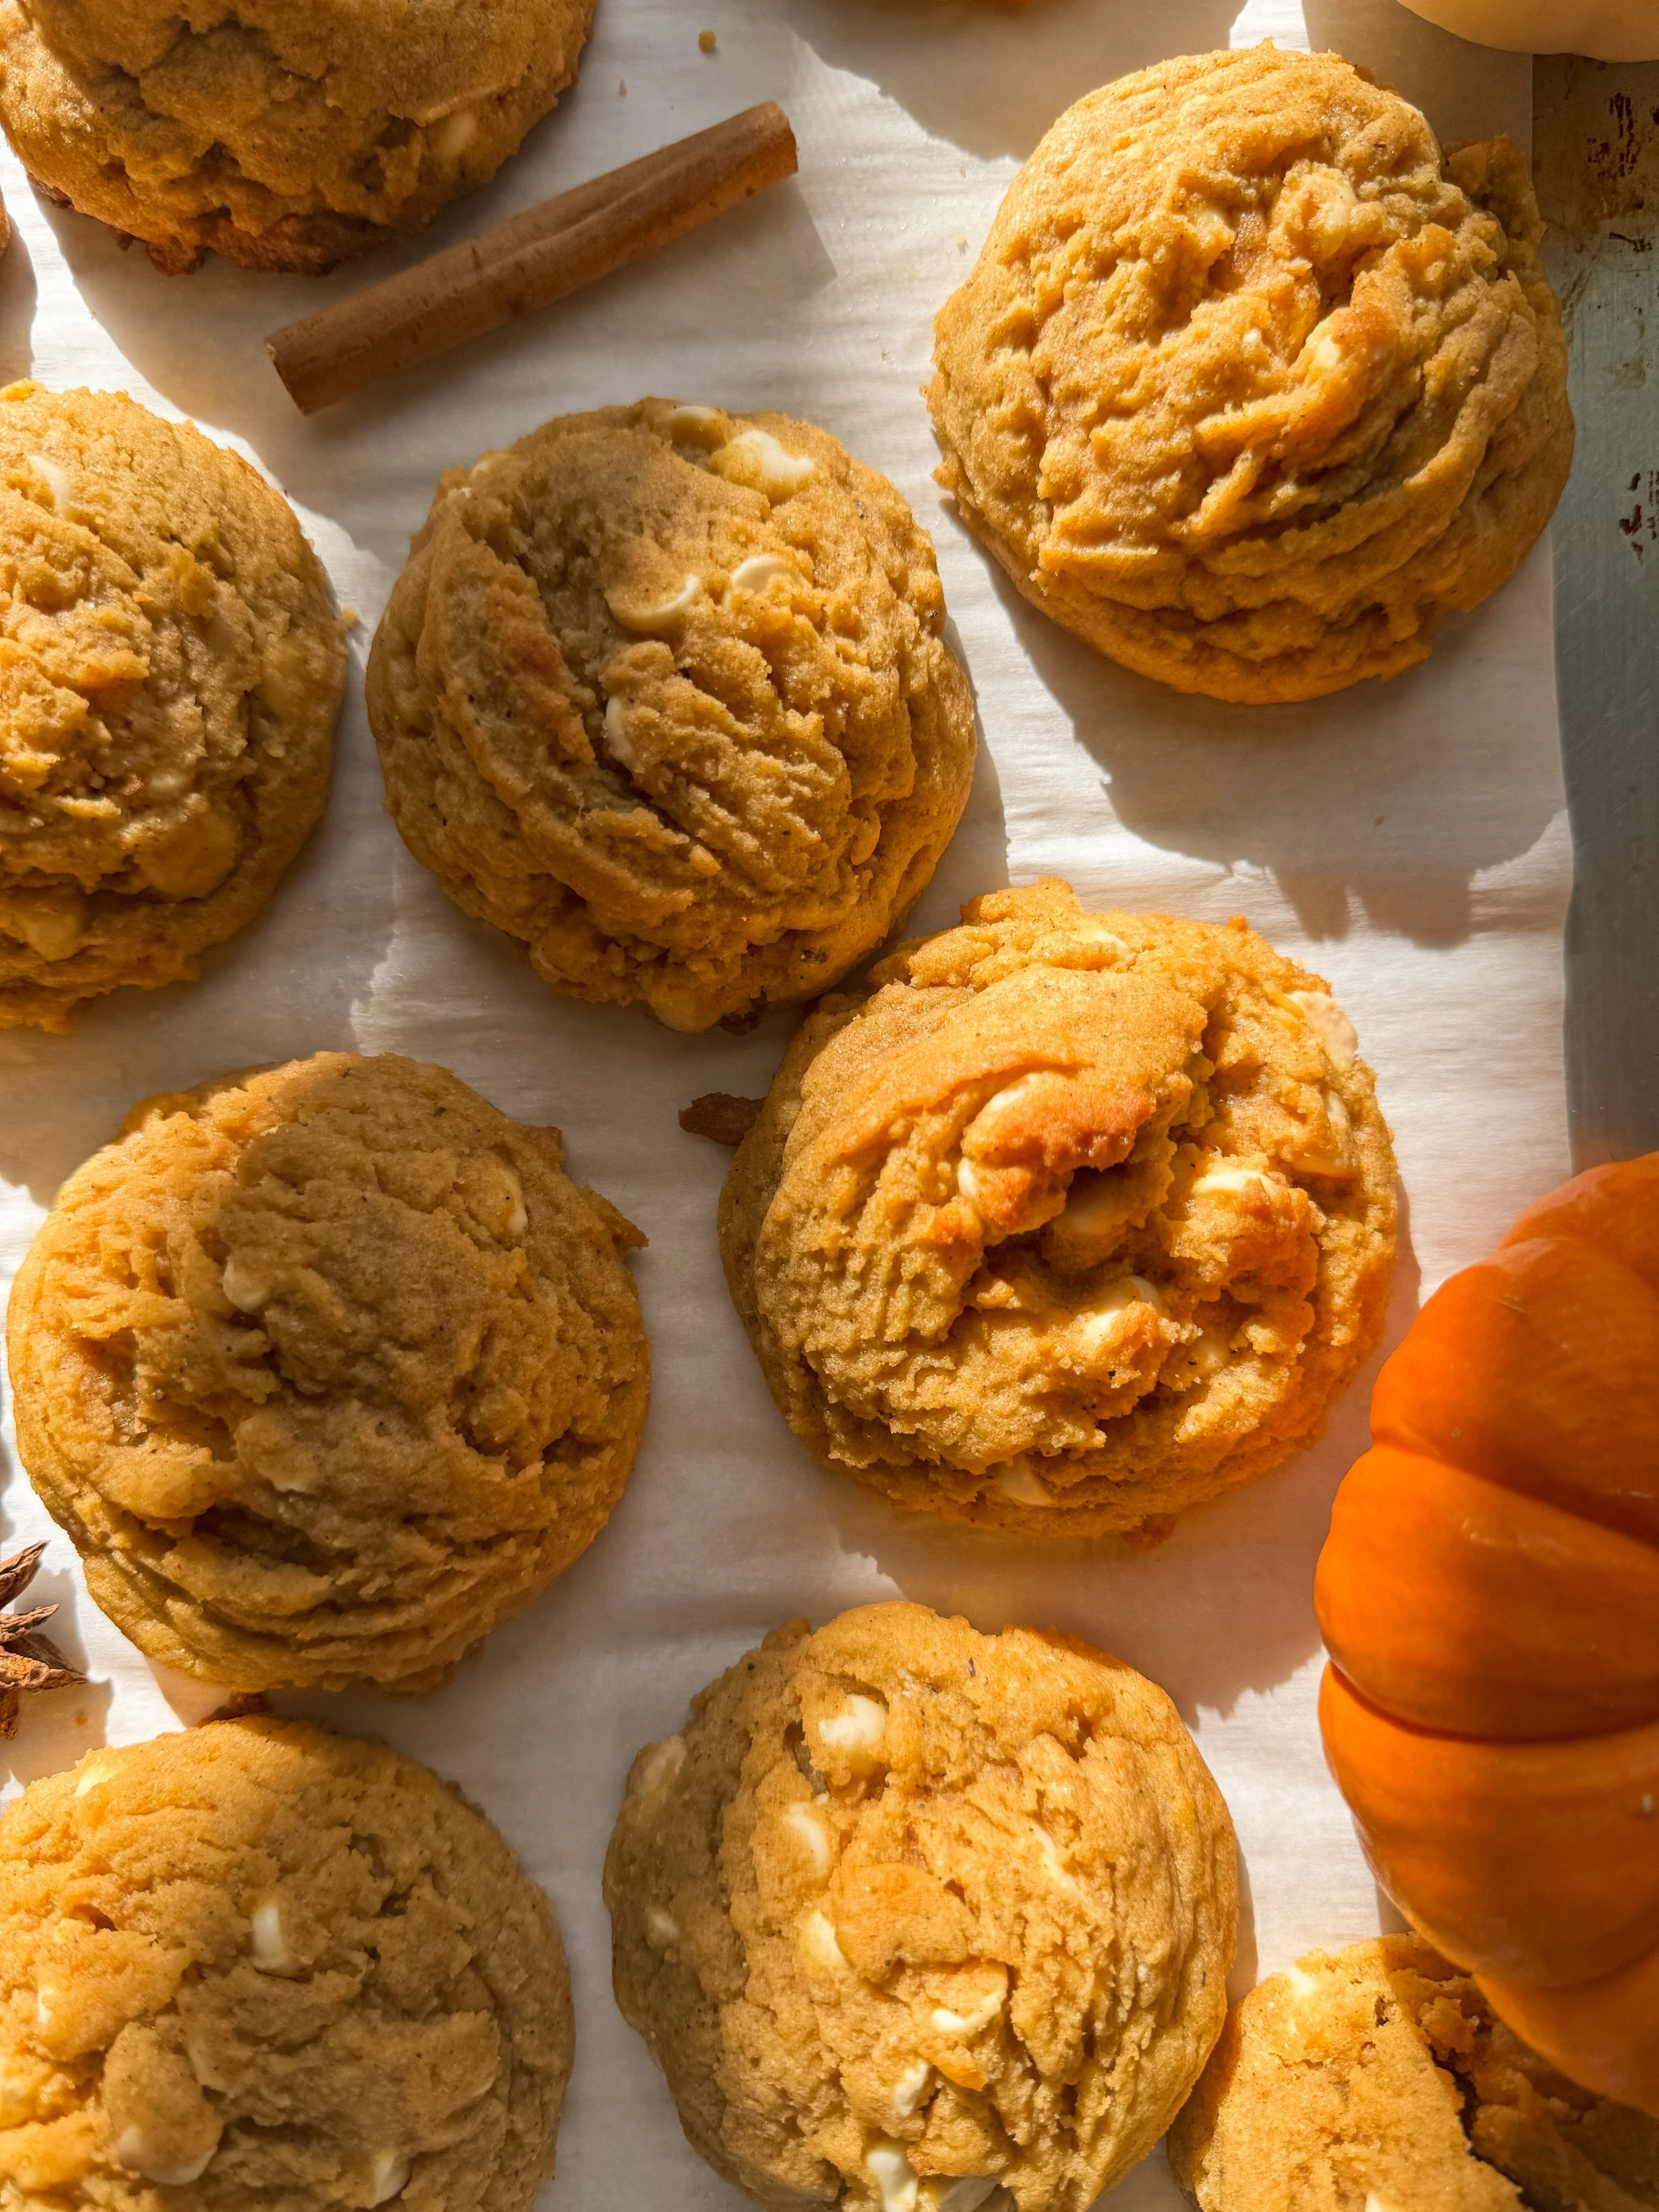
Use a 1/4 cup cookie scoop and scoop onto the prepared pan, five at a time, in the shape of a five of a playing die. Bake two sheets at a time and rotate racks halfway through until golden brown on the edges, for 12-14 minutes. Repeat with the remaining dough. Scoot the cookies with a 4” cookie cutter or bowl if needed or preferred for more uniform cookies. Let cool for 5-10 minutes, and enjoy. Best if eaten within three days after baking.
Frequently Asked Questions:
Can this recipe be made with a stand mixer? Techically yes, but it is difficult to get the batter to mix evenly. Make sure you’re using an extra large bowl and try finishing the mixing with a rubber spatula.
Can I use regular chocolate chips? Definitely, I would use semi-sweet or dark chocolate chips as milk chocolate chips would probably be too sweet.
Can these be made in advance? Yes, you can freeze the dough balls and bake from frozen. To freeze the dough, scoop into balls, and freeze solid on a baking sheet before transferring to a sealable container. When you’re ready to bake, reduce the oven temperature to 350°F (175°C), and bake for a couple of minutes longer, about 12-14 minutes.
Can I use a silicone baking mat in place of parchment paper? I find silicone baking mats are hotter than baking sheets, and have a tendency to burn the bottom of cookies. If you don’t have parchment then just bake directly on the cookie sheet over silicone baking mats.
Can I make smaller cookies? Yes, this recipe also works for 2 tablespoon sized cookies. Reduce the cook time to 10-12 minutes and you can cook 9 per baking sheet.
How to Brown Butter
If you’ve never browned butter before, you may feel intimidated, but I promise with a little bit of supervision you’ll know how to zhuzh up an every day ingredient into something even more complex and special.
The process of browning the butter does two things: 1) Cooks off the water in the butter, which means that the resulting browned butter will be about 20-25 grams lighter, and have about 30% less volume than butter that has been simply melted; and 2) Separates the whey, or milk proteins, from the butter fat and toasts the milk protein so that it has a wonderful nutty caramel aroma and flavor (if you’re a food science nerd, this is called the Maillard Reaction, and is the same process that makes perfectly browned grilled cheese so delicious).
If you start the process with butter cold from the fridge, it takes about 5 minutes over a medium heat. The trick with browning butter, is that it can go from browned to burnt in a matter of seconds, even after it is taken off the heat. When I had my home bakery, I had a cookie recipe that I used to make thousands of massive (almost 1/2 lb cookies), and the recipe took a lot of browned butter, so I have had quite a bit of practice, and here is what I have learned:
Use a small - medium stainless steal (not non-stick or glass) saucepan to brown the butter. If you are browning a large amount, then make sure you use a medium-large sauce pan since the butter foams and expands as the water is evaporating.
Once the butter is fully melted and starts to crackle (this is the sound of the water evaporating) watch it very closely. Don’t walk away or multitask or you could miss the window.
Keep an eye on the pan as it is cooking, and rotate it or scrape the sides with a rubber spatula if you notice one part of the pan is browning the butter early.
Use your ears to tell when it is close. Dorie Greenspan described the crackling slowing down to a “polite applause” when it is almost done, and a few seconds after is when I typically remove the pan from the heat.
Another sign it is ready is when it starts to foam and smell nutty, take it off the heat. You won’t be able to see the browning, but trust me it is forming beneath the foam.
If you move the foam aside and can see the bottom of the pan, and nothing looks browned yet, do not fret—the carry over heat from the pan will finish the browning. If you wait a few seconds too long and the butter is turning dark brown, then quickly use a rubber spatula to scrape all of the browned bits into an empty bowl before the residual heat from the pan over cooks it.
Be careful adding any other ingredients to it, if it has moisture, it will seize, and the steam can burn.
Wait a few minutes for the pan to cool before using a rubber spatula to scrape all of the lovely brown bits you can into a heat proof bowl

Brown Butter Pumpkin White Chocolate Chip Cookies
Soft and chunky pumpkin spiced cookies with white chocolate and chewy edges made with pumpkin butter. Makes 15 cookies.
Ingredients
Instructions
- Preheat the oven to 375°F (190°C) and line two baking sheets with parchment paper.
- Brown butter: Start by setting to the side a medium heat proof bowl. Add the butter (it can be fridge cold) to a medium light bottomed saucepan over medium heat (see explanation in recipe notes on browning butter if needed), and melt, stirring occasionally with a rubber spatula and scraping the sides and bottom. Once the butter starts to foam, and the crackling slows down to a polite applause, remove the pan from the heat and pour all of the butter into the heat proof bowl. Be sure to scrape up all the browned bits from the bottom and get it into the mixing bowl--that's where you'll get the caramel flavor.
- To quickly chill butter: Prepare a large bowl with a couple of handfuls of ice and cold water, then place a medium-sized metal bowl in the ice water with the liquid browned butter. Start whisking immediately with a large balloon whisk or electric mixer on low. Keep whisking until the butter reaches room temperature, about 2 minutes.
- If the butter starts to freeze to the sides, remove from the ice bath and continue whisking. Check the temperature of the butter, and return to the ice bath if it still feels warm to the touch. If the butter is still warm, it will liquify when the sugar is added and not be able to hold air, and you’ll miss out on the fluffy cookie texture. When the butter is at the right consistency, it should feel at least body temperature or a little bit cooler and have a whipped appearance (see below).
- To chill the butter slowly: You can also place in the refrigerator for an hour, or the freezer for about 30 minutes until firm but will still indent when you touch it. You do not want it to be frozen or it will be too hard to mix. Once it is close, check every 5 minutes or so by pressing in the center. If the butter his liquid in the middle, it needs more time.
- Once the butter has firmed up, add browned butter, pumpkin butter, brown sugar, and granulated sugar to a stand mixer and mix on medium high for 3-5 minutes until the batter considerably lightens. Scrape the sides as needed. Add the egg yolks and vanilla, and mix for another 1-2 minutes until the batter is fluffy.
- Add the sea salt, baking powder and baking soda and mix for 30 seconds. Then add the flour and mix on low until mostly combined (fluff the flour with a fork before measuring, or measure by weight to be the most accurate). Then add the white chocolate chips and mix on low until just combined.
- Use a 1/4 cup cookie scoop and scoop onto the prepared pan, five at a time, in the shape of a five of a playing dice. Bake for 12-14 minutes. Bake two sheets at a time and rotate racks halfway through until just beginning to turn golden brown on the edges. Repeat with the remaining dough.
- Scoot the cookies with a 4” cookie cutter or bowl if needed or preferred for more uniform cookies. Let cool for 5-10 minutes, and enjoy. Best if eaten within three days after baking.