Chocolate Chip Oatmeal Cookies
My mom’s famous oatmeal chocolate chip cookies have chewy edges and a gooey center when eaten just out of the oven. When they are fully cooled the chewy oatmeal and Hershey’s chocolate chunk make this taste like an indulgent nostalgic treat (that might be a little healthy? The oatmeal doesn’t count for nothing). Makes about 2 dozen cookies.
This post may contain affiliate links. Read the disclosure policy here.

These cookies have been at every family gathering for as long as I can remember, and my mom is letting me share this cookie recipe with all of you.
In a way, you have eaten this cookie before, because both my Scooted Chocolate Chip Cookie and Thick and Chunky cookie recipes are adapted from my mom’s recipe, just without the oats. This is the cookie my mom would make for every bake sale, birthday party, potluck, and family get together. She always has the ingredients on hand or at the very least a few in the freezer, and I have never seen her turn down a request to make her cookies.
In my opinion, the best way to eat them is freshly baked from the oven. Before using a spatula to scoop one off the tray (an essential step), I compare the them to make sure I choose the one with the most chocolate chips and puffiest center. After sliding it into the palm of my hand, I tear off the chewy edges in chunks before eating the gooey and hopefully chocolate laden center. If I’ve chosen well, I will have some melted chocolate to lick off the palm of my hand or the tips of my fingers when the cookie is gone.
Recently, this recipe has gotten a little bit of a glow-up to replace the butter flavored shortening that she used to make it with. While the shortening gave the cookies an undeniably fluffy texture, it was also expensive, could be difficult to find, not the healthiest alternative, and had a synthetic aftertaste to the cookies.
You’ll also notice that the eggs are measured kind of oddly. This is because my mom has a larger than standard home mixer, and unless you have the biggest size possible, your mixer won’t be able to handle all of the batter. To accommodate scaling down the ingredients, you have to use 2 1/2 large eggs, or three medium eggs for around 170 gr of egg. The recipe explains the best way to measure 1/2 of an egg.
Ingredients
2 sticks (226gr, 1 cup) unsalted butter, to be browned
1 cup (220gr) granulated sugar
1 cup (220gr) brown sugar packed
2 1/2 (125gr) large eggs or 3 medium eggs
1 1/2 tsp vanilla
1 1/2 tsp sea salt
1 tsp baking powder
1 tsp baking soda
2 cups (8 oz, 227 gr) rolled oats
2 1/2 cups (12 oz, 340gr) all-purpose flour
1 Giant Hershey Bar (7.56 oz) or 1 cup milk chocolate chips
1 cup (8 oz, 227gr) semisweet chocolate chips
Equipment you’ll need:
Electric stand mixer: To mix the dough
Medium and Large Mixing Bowl: For the browned butter
Balloon whisk or electric hand mixer: To help whisk the butter while chilling
Measuring cups: To measure the sugar and chocolate chips
Kitchen scale: To measure the dry ingredients for better accuracy
Measuring spoons: To measure the leavening agents and vanilla
Baking pan or cookie sheet: For baking the cookies
Parchment paper: To line the cookie sheet for baking
Step-by-Step Recipe:
Preheat the oven to 350°F, and line two cookie sheets with parchment paper (you technically don't need the parchment, but the bottoms bake more evenly when you use parchment).
If you want to make the cookies immediately, prepare a large bowl with a couple of handfuls of ice and cold water, then place a medium sized metal bowl in the ice water.
Brown the butter in a small saucepan (see below explanation on browning butter if this is your first time). Once the butter starts to foam and the crackling slows down to a polite applause, removed the pan from the heat and pour all of the butter into the metal bowl sitting in the ice bath. Be sure to scrape up all the browned bits from the bottom and get it into the mixing bowl--that's where you'll get the caramel flavor.
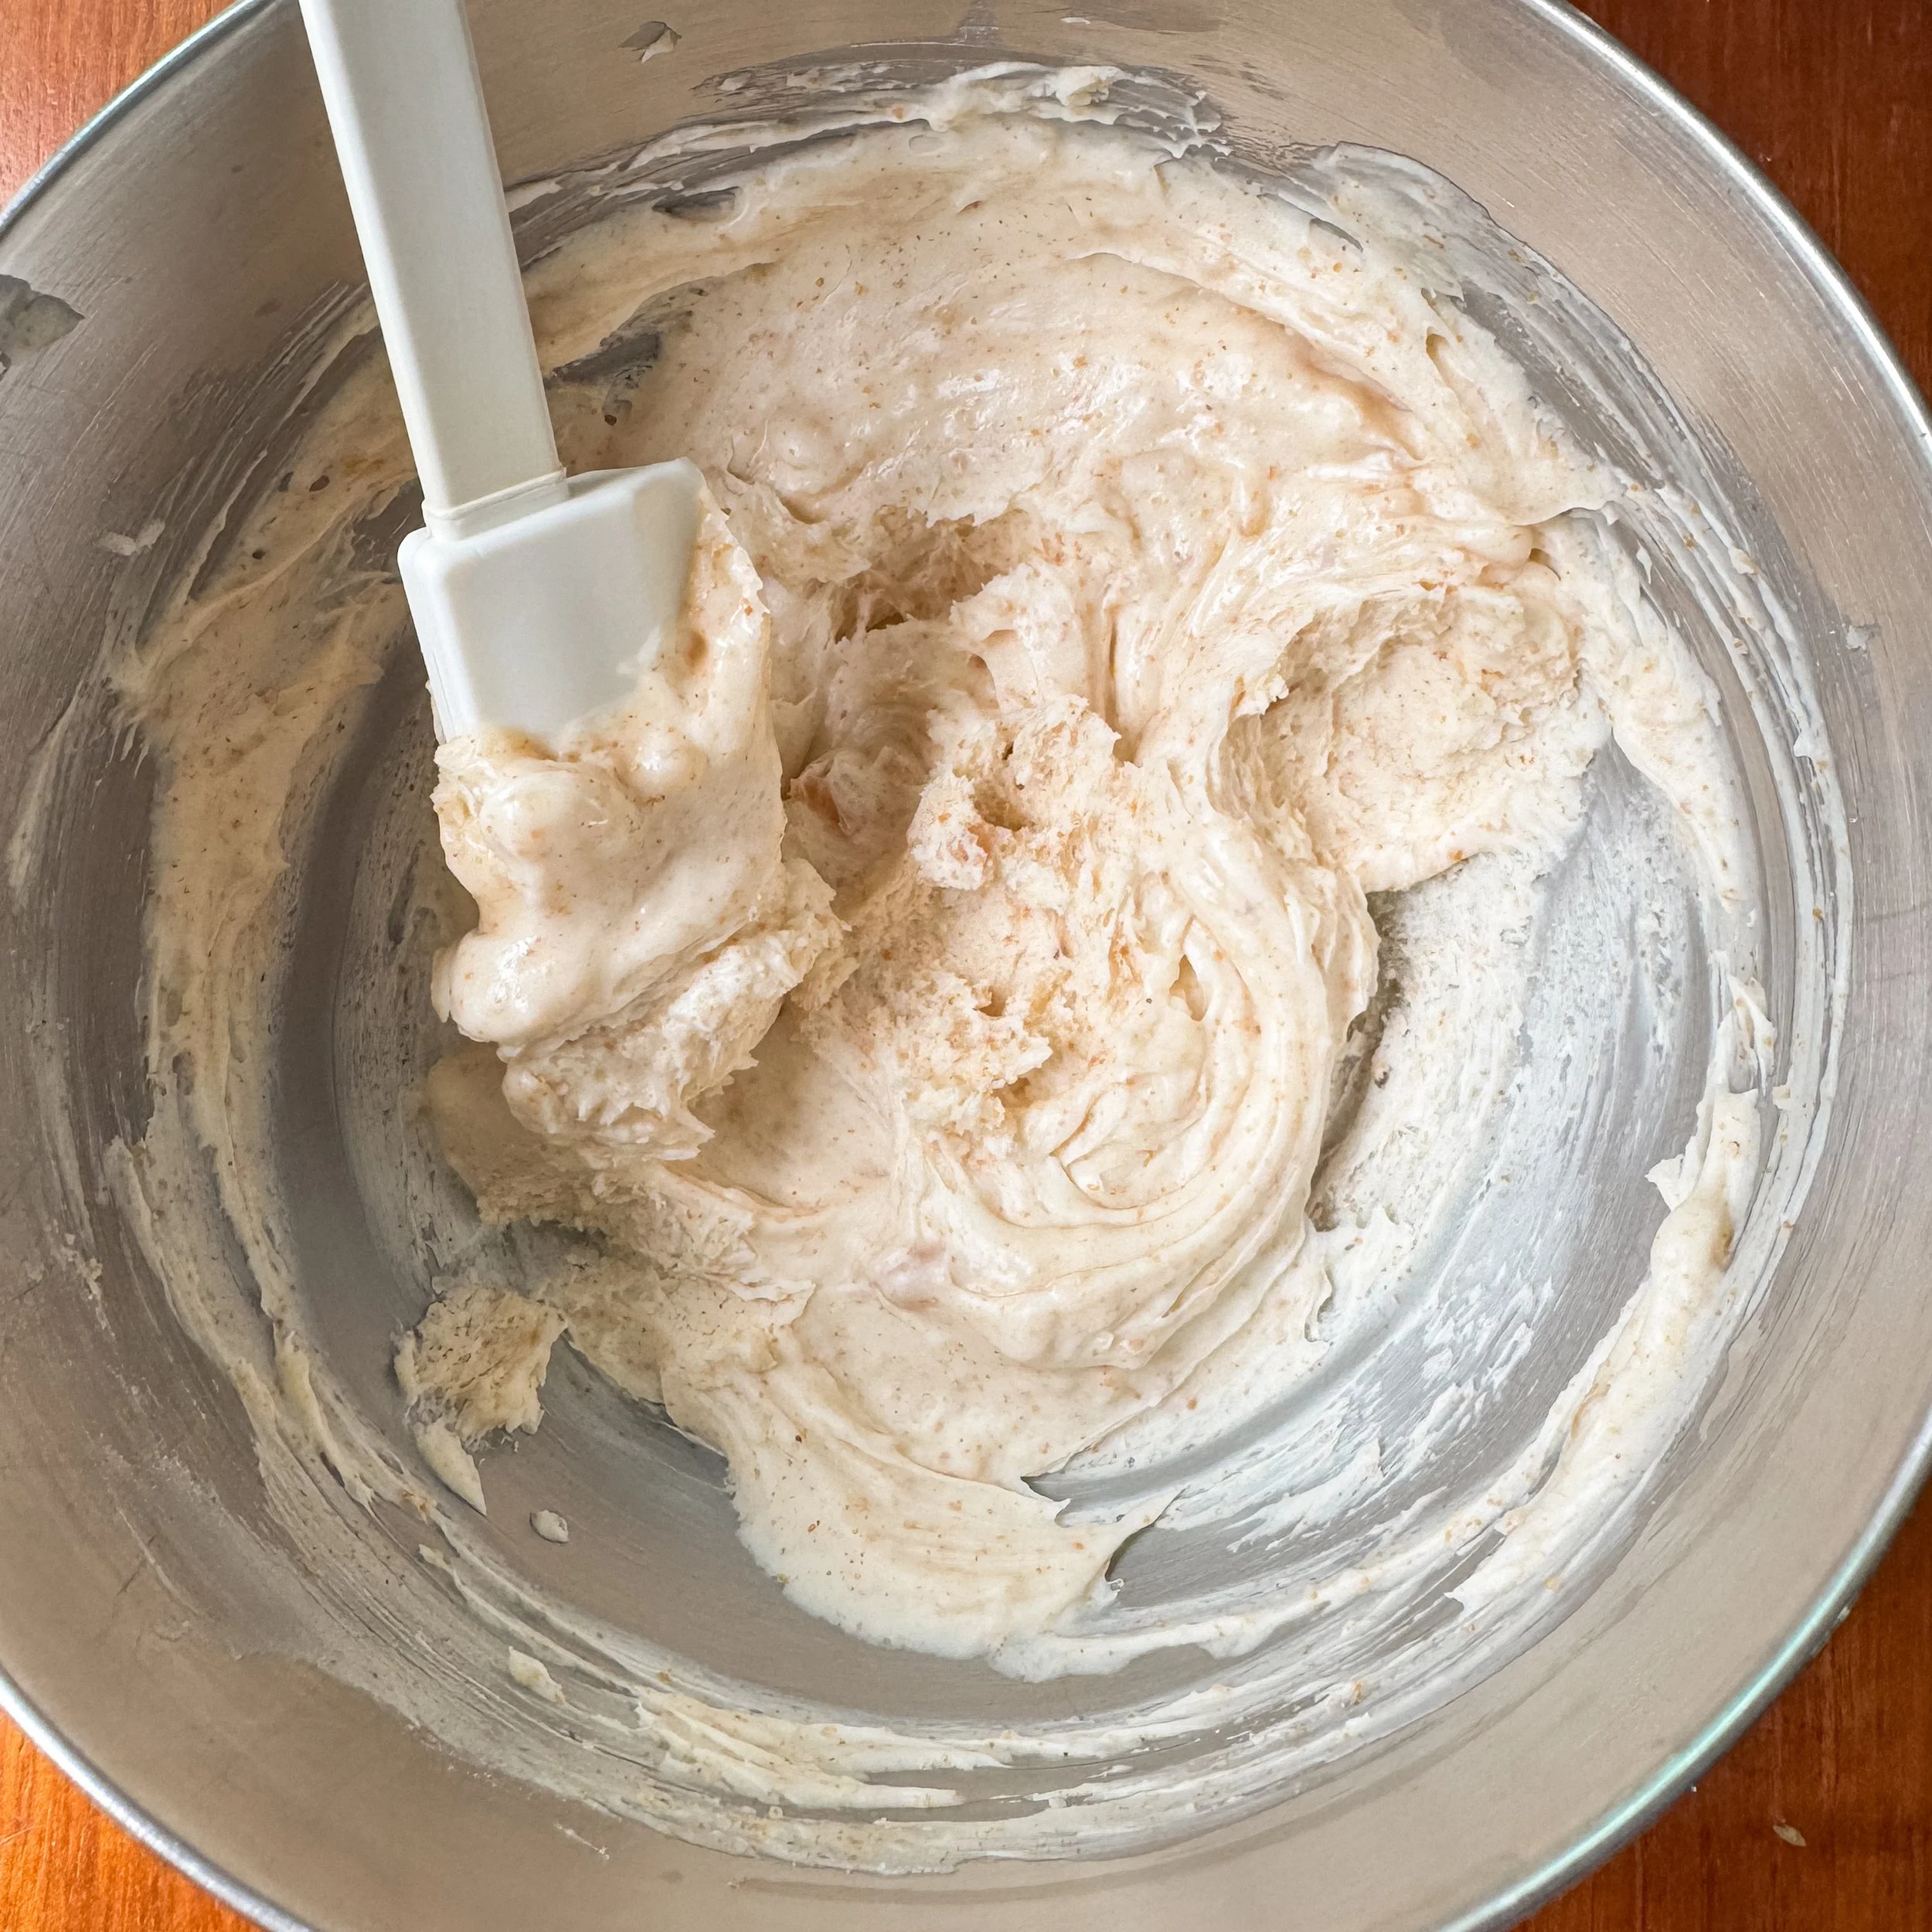
Start whisking immediately with a large balloon whisk. Keep whisking until the butter reaches a soft room temperature consistency, about 2 minutes. If the butter starts to freeze to the sides, remove from the ice bath and continue whisking. When the butter is at the right consistency, it should feel cool and have a whipped appearance. It does not need to be hard.
Alternatively, you could let it cool to room temperature until it is solid (it will have two separate layers), or chill in the freezer for about thirty minutes until it solidifies but still gives when you push into it.
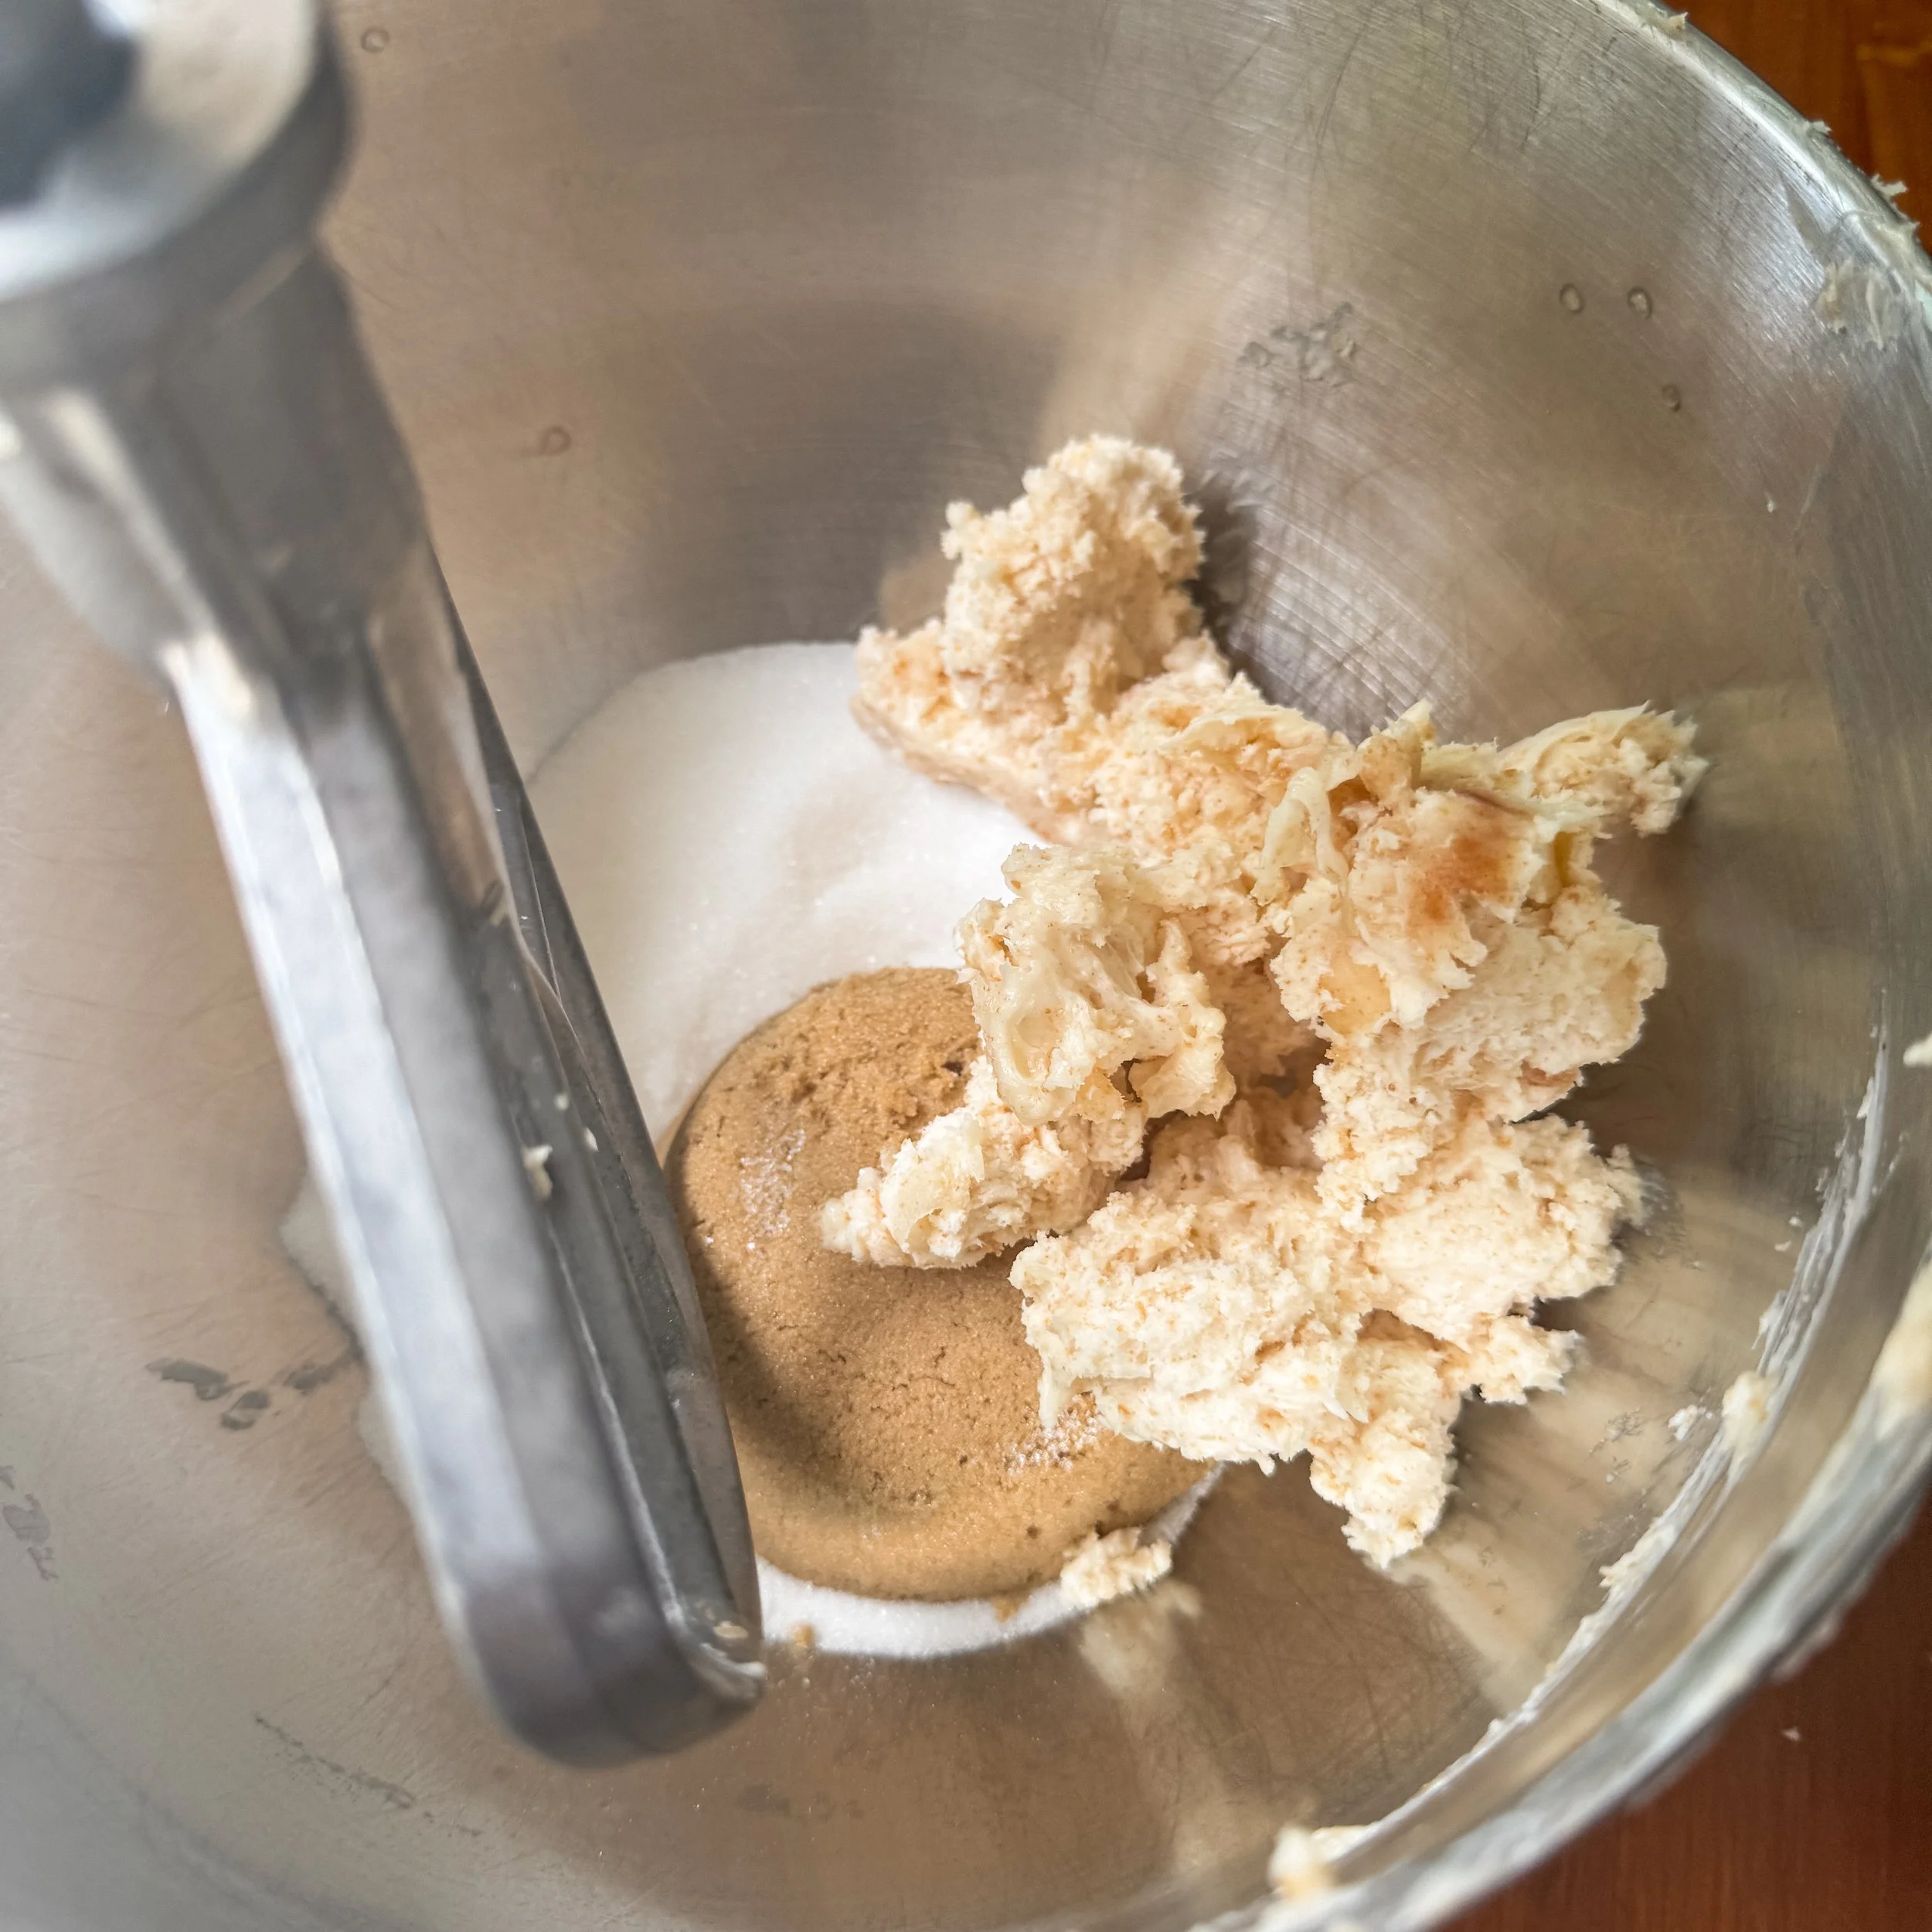
Add the butter, brown sugar, and white sugar to the mixer and mix on high for 2-3 minutes, scraping the sides with a rubber spatula as needed.
Add the eggs. Measure half an egg by cracking one egg into a small bowl, scrambling it with a fork, and measure about 2 tablespoons of it. Turn the mixer on medium and mix until eggs are combined. I know this is an annoying step, but the original recipe (which is doubled this recipe) can only fit in the largest home stand mixer, which most people don’t have.
Add the vanilla and mix for 30 seconds more.
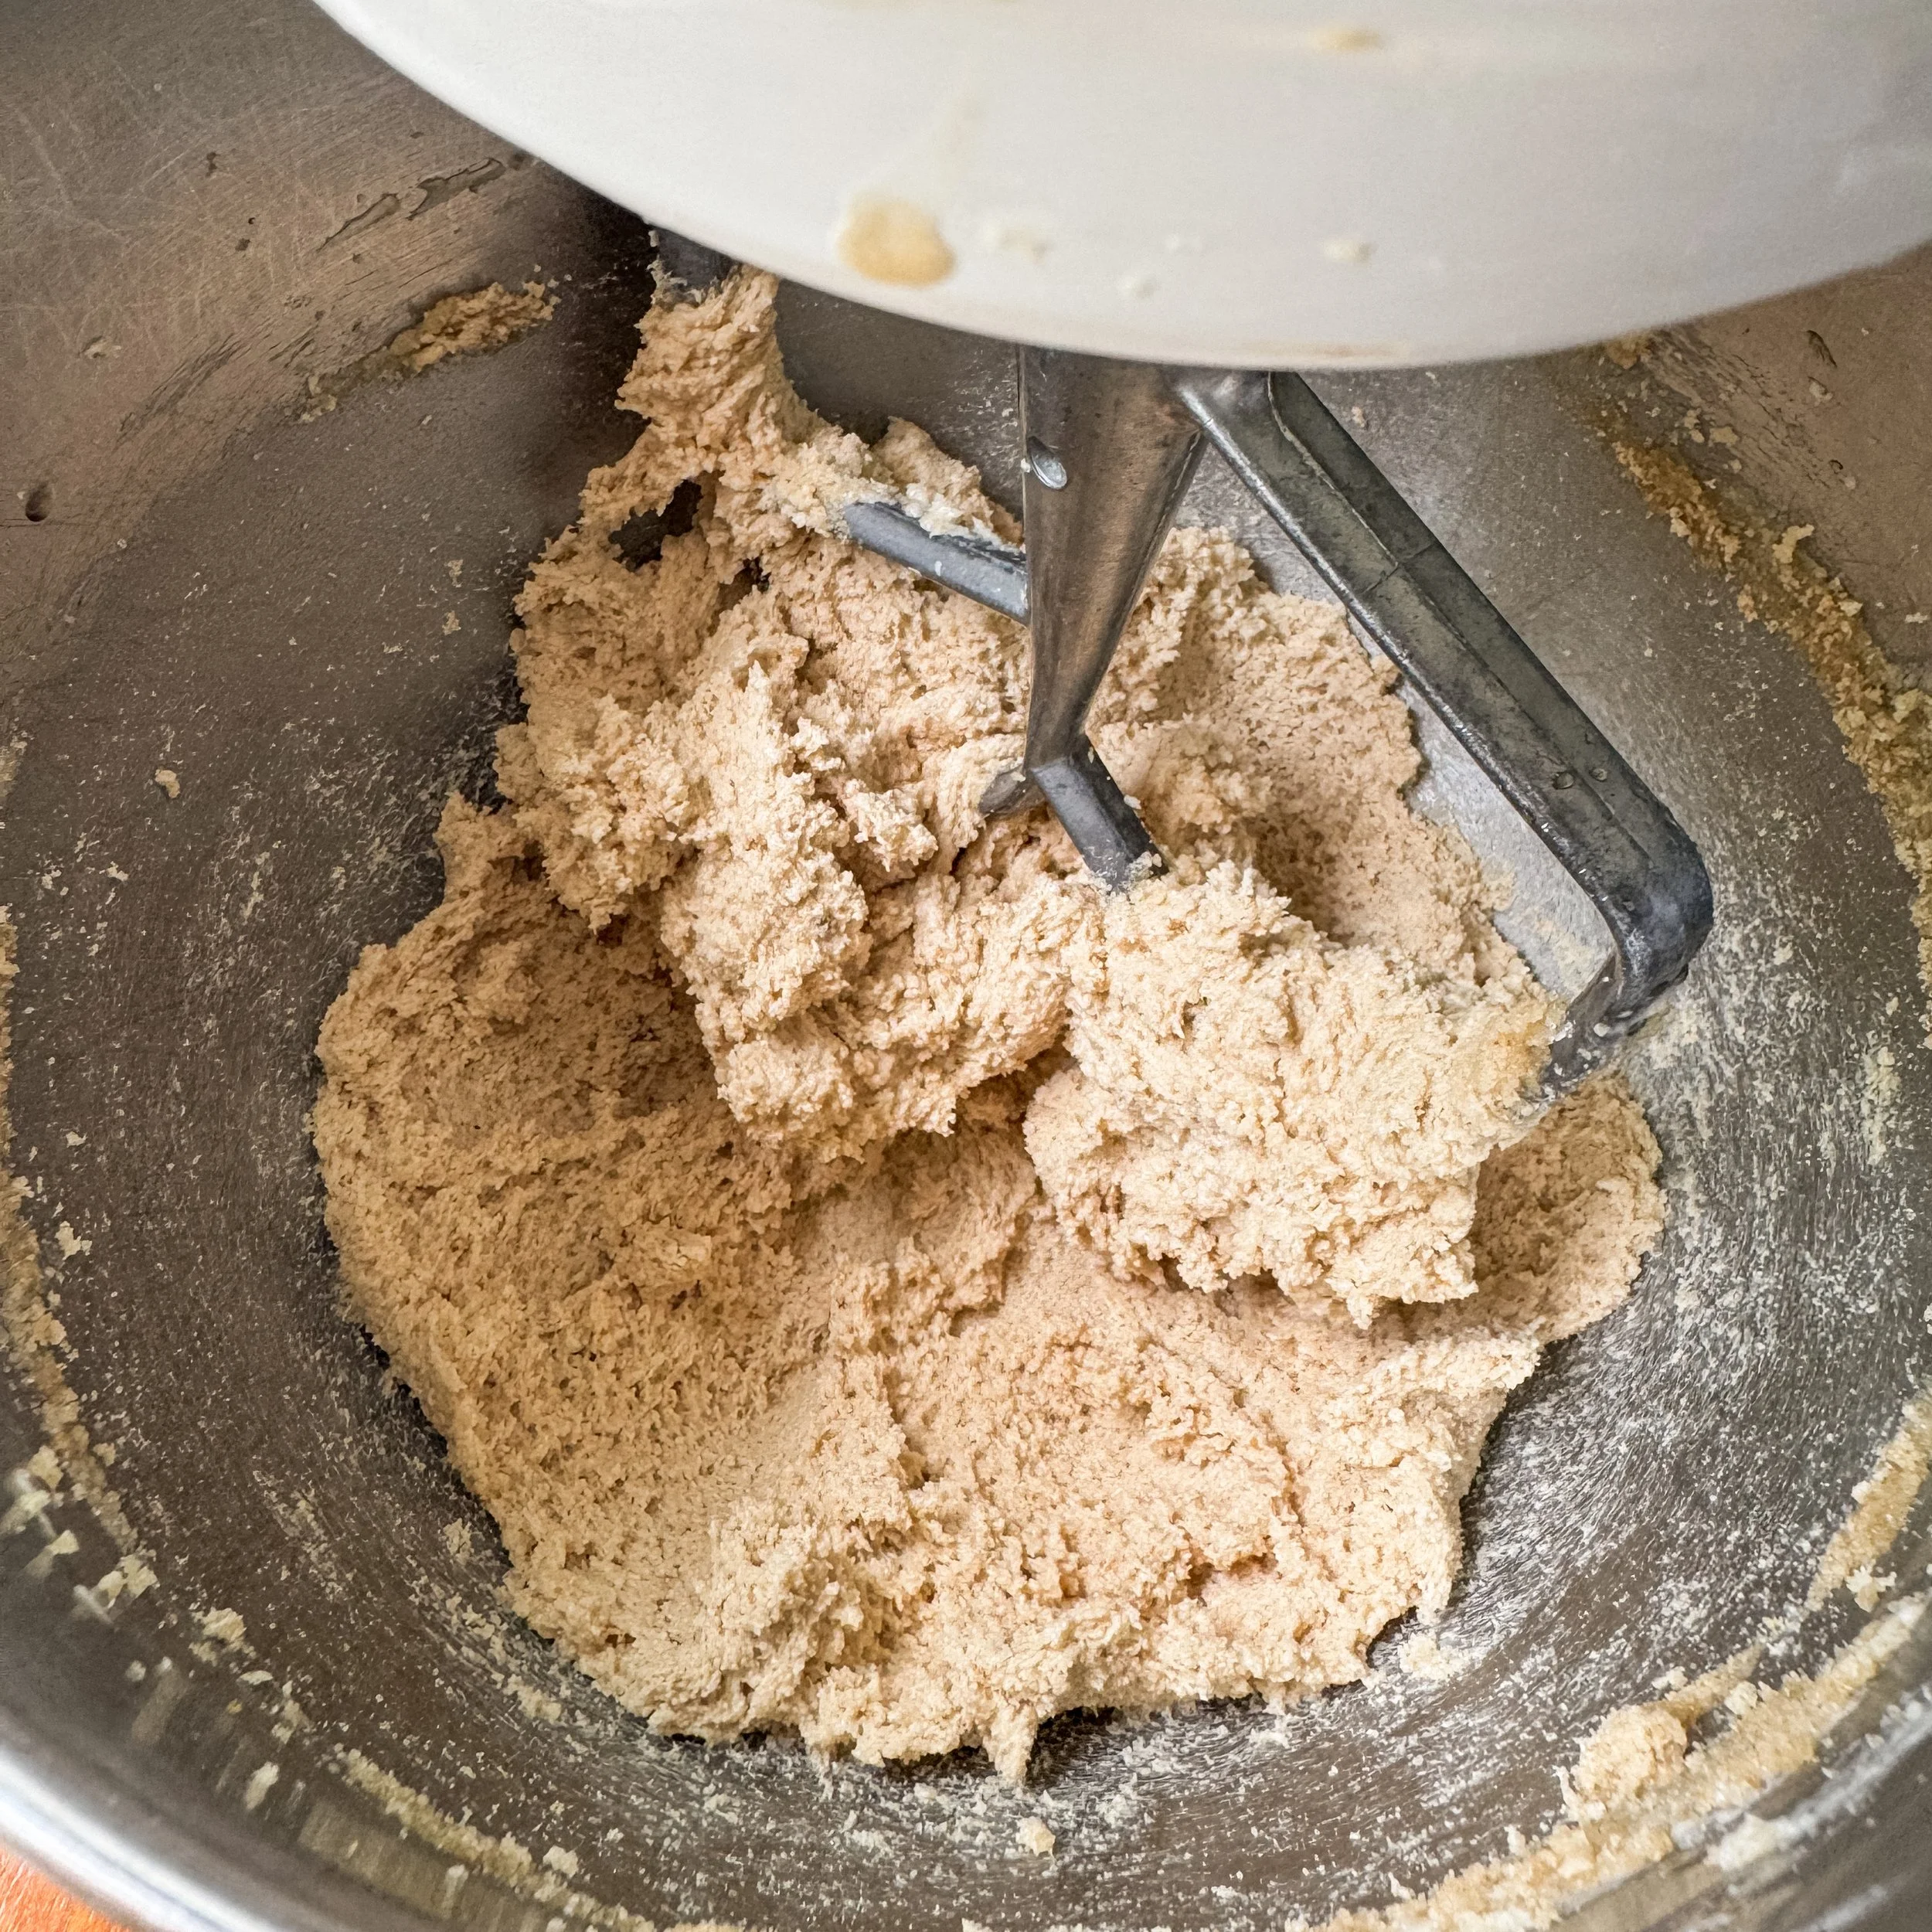
Add the baking powder, baking soda, and sea salt, and mix for thirty seconds. If you use salted butter, reduce salt by 1/2 teaspoon (1 tsp total). I like to add these before adding the flour to be sure they are evenly mixed in the dough. Then add the flour and oats, and mix for another thirty seconds to a minute on low. Scrape the sides and bottom of the bowl if needed if it looks like there is some dry ingredients that is not getting mixed in.
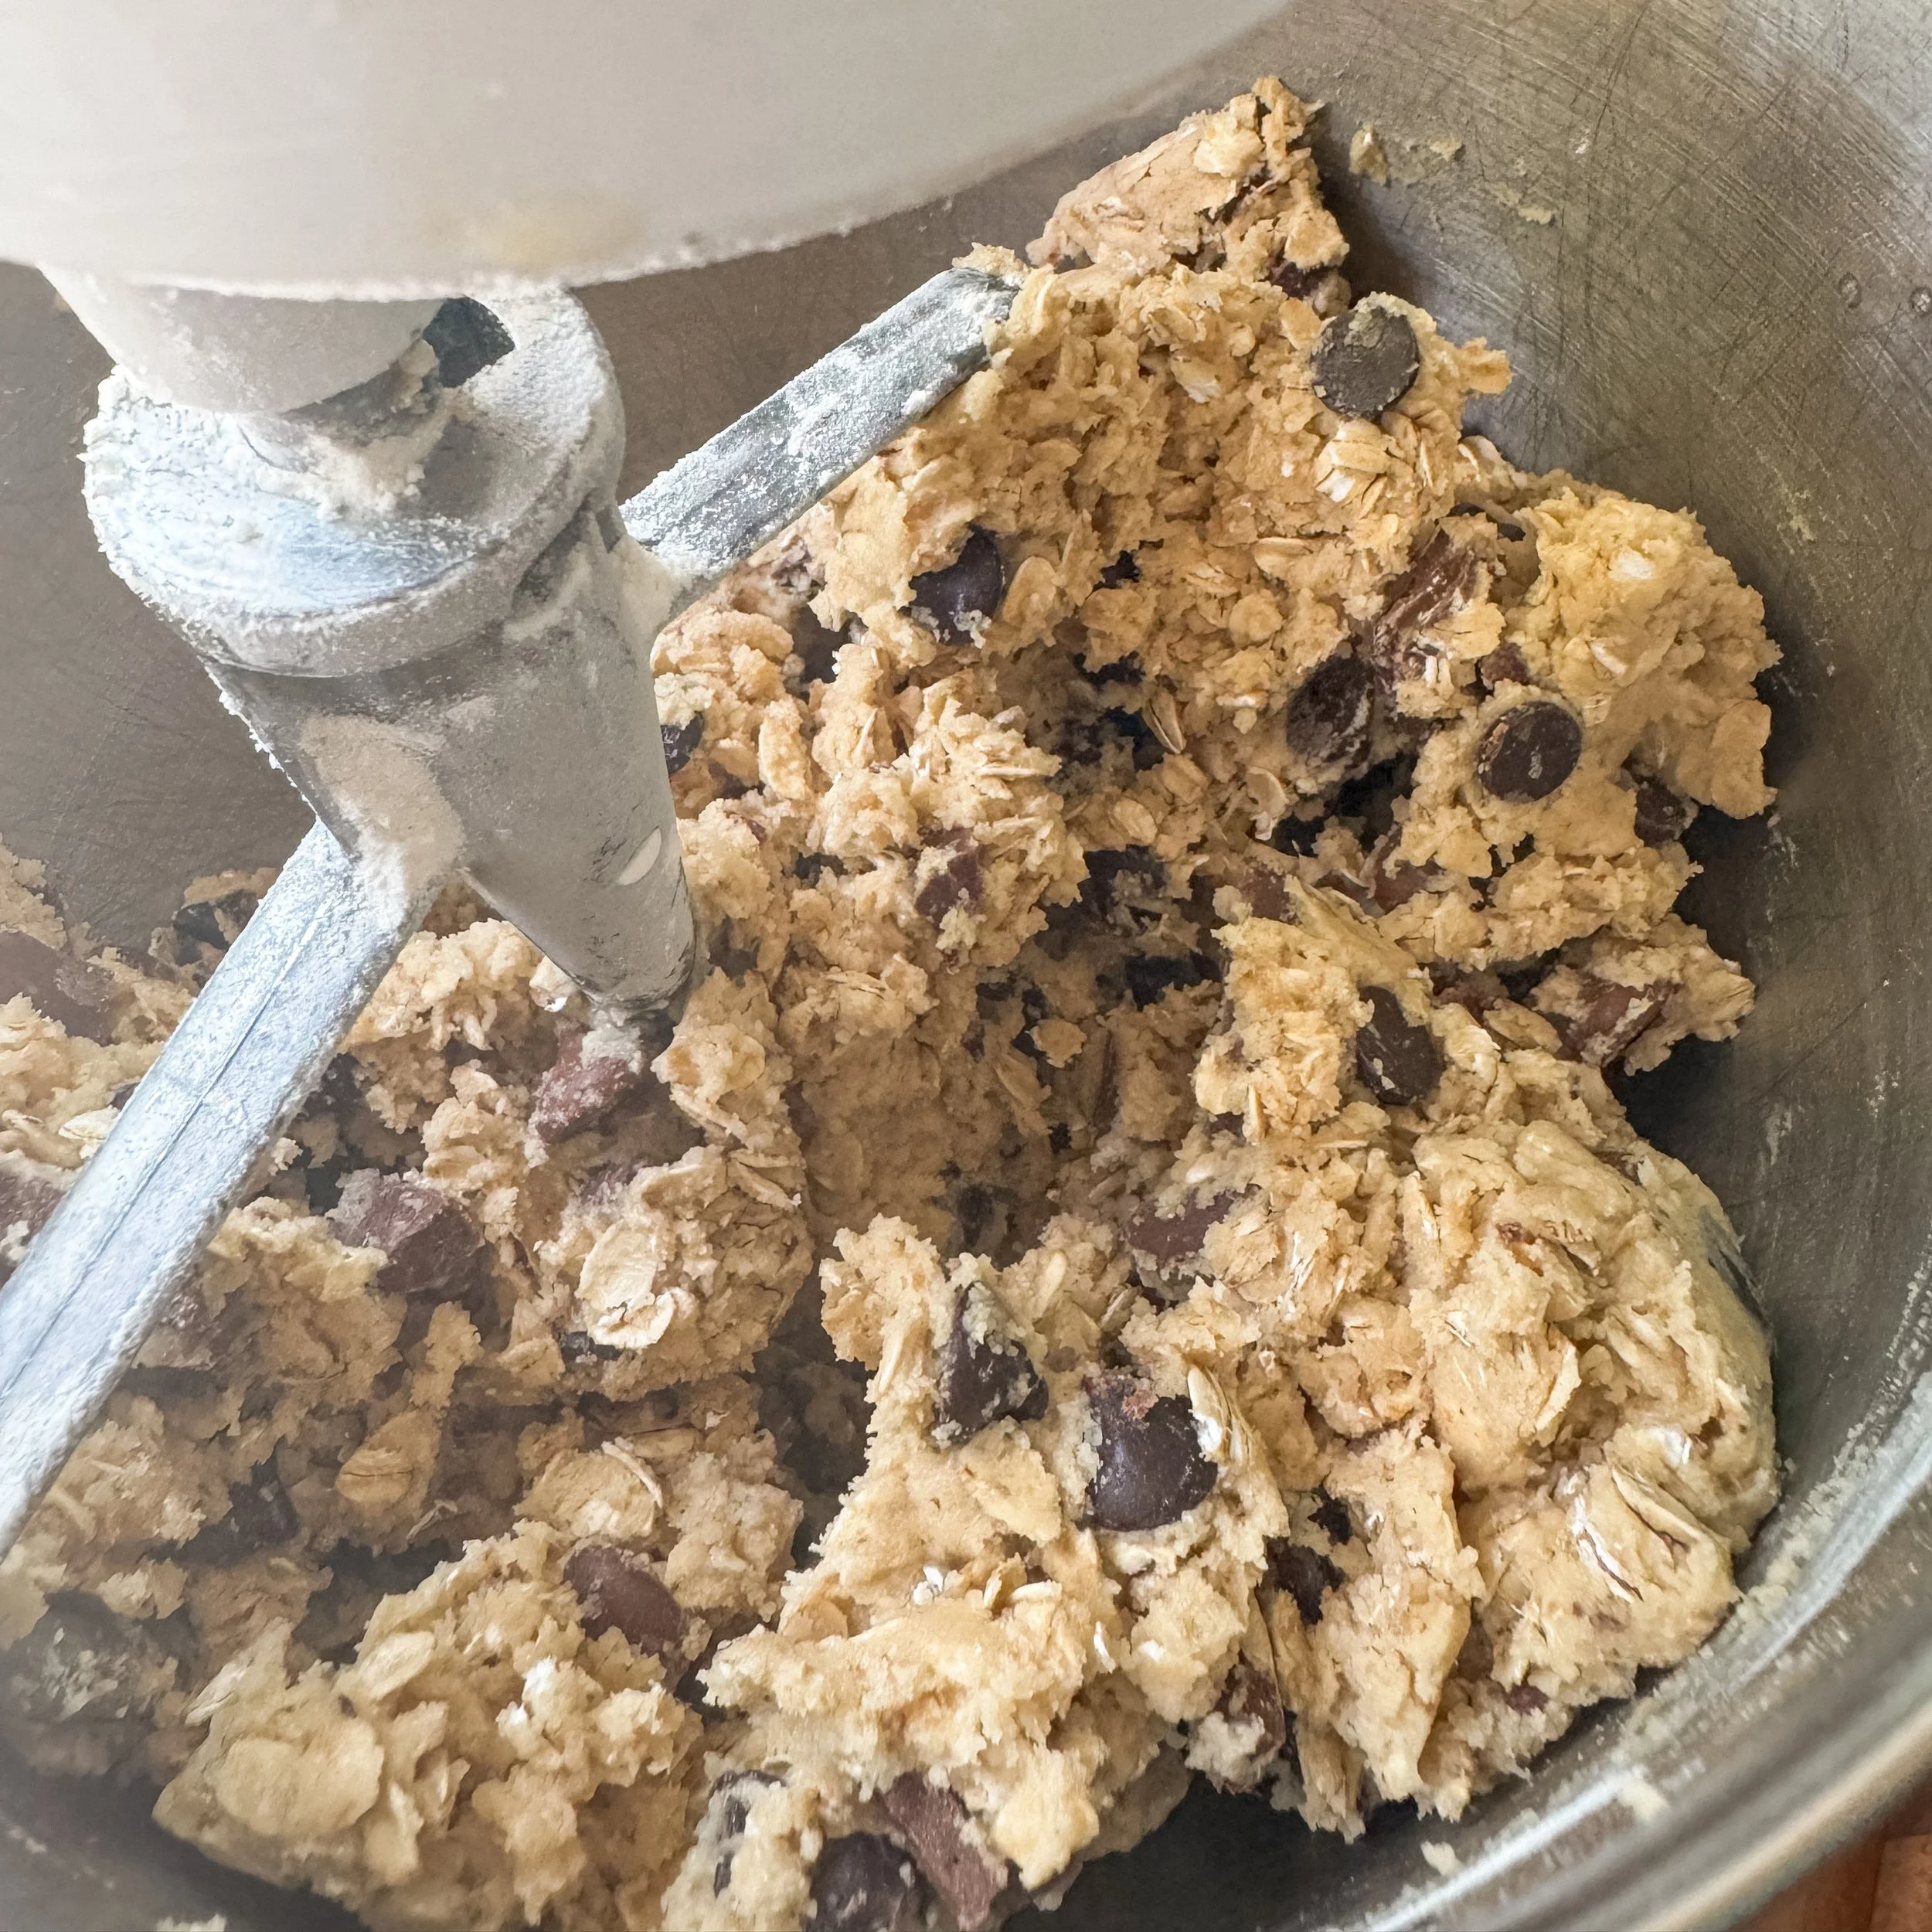
When the flour is almost all mixed in, add the chocolate chips and chocolate chunks. Mix until evenly distributed, about 30 seconds. Do not over mix.

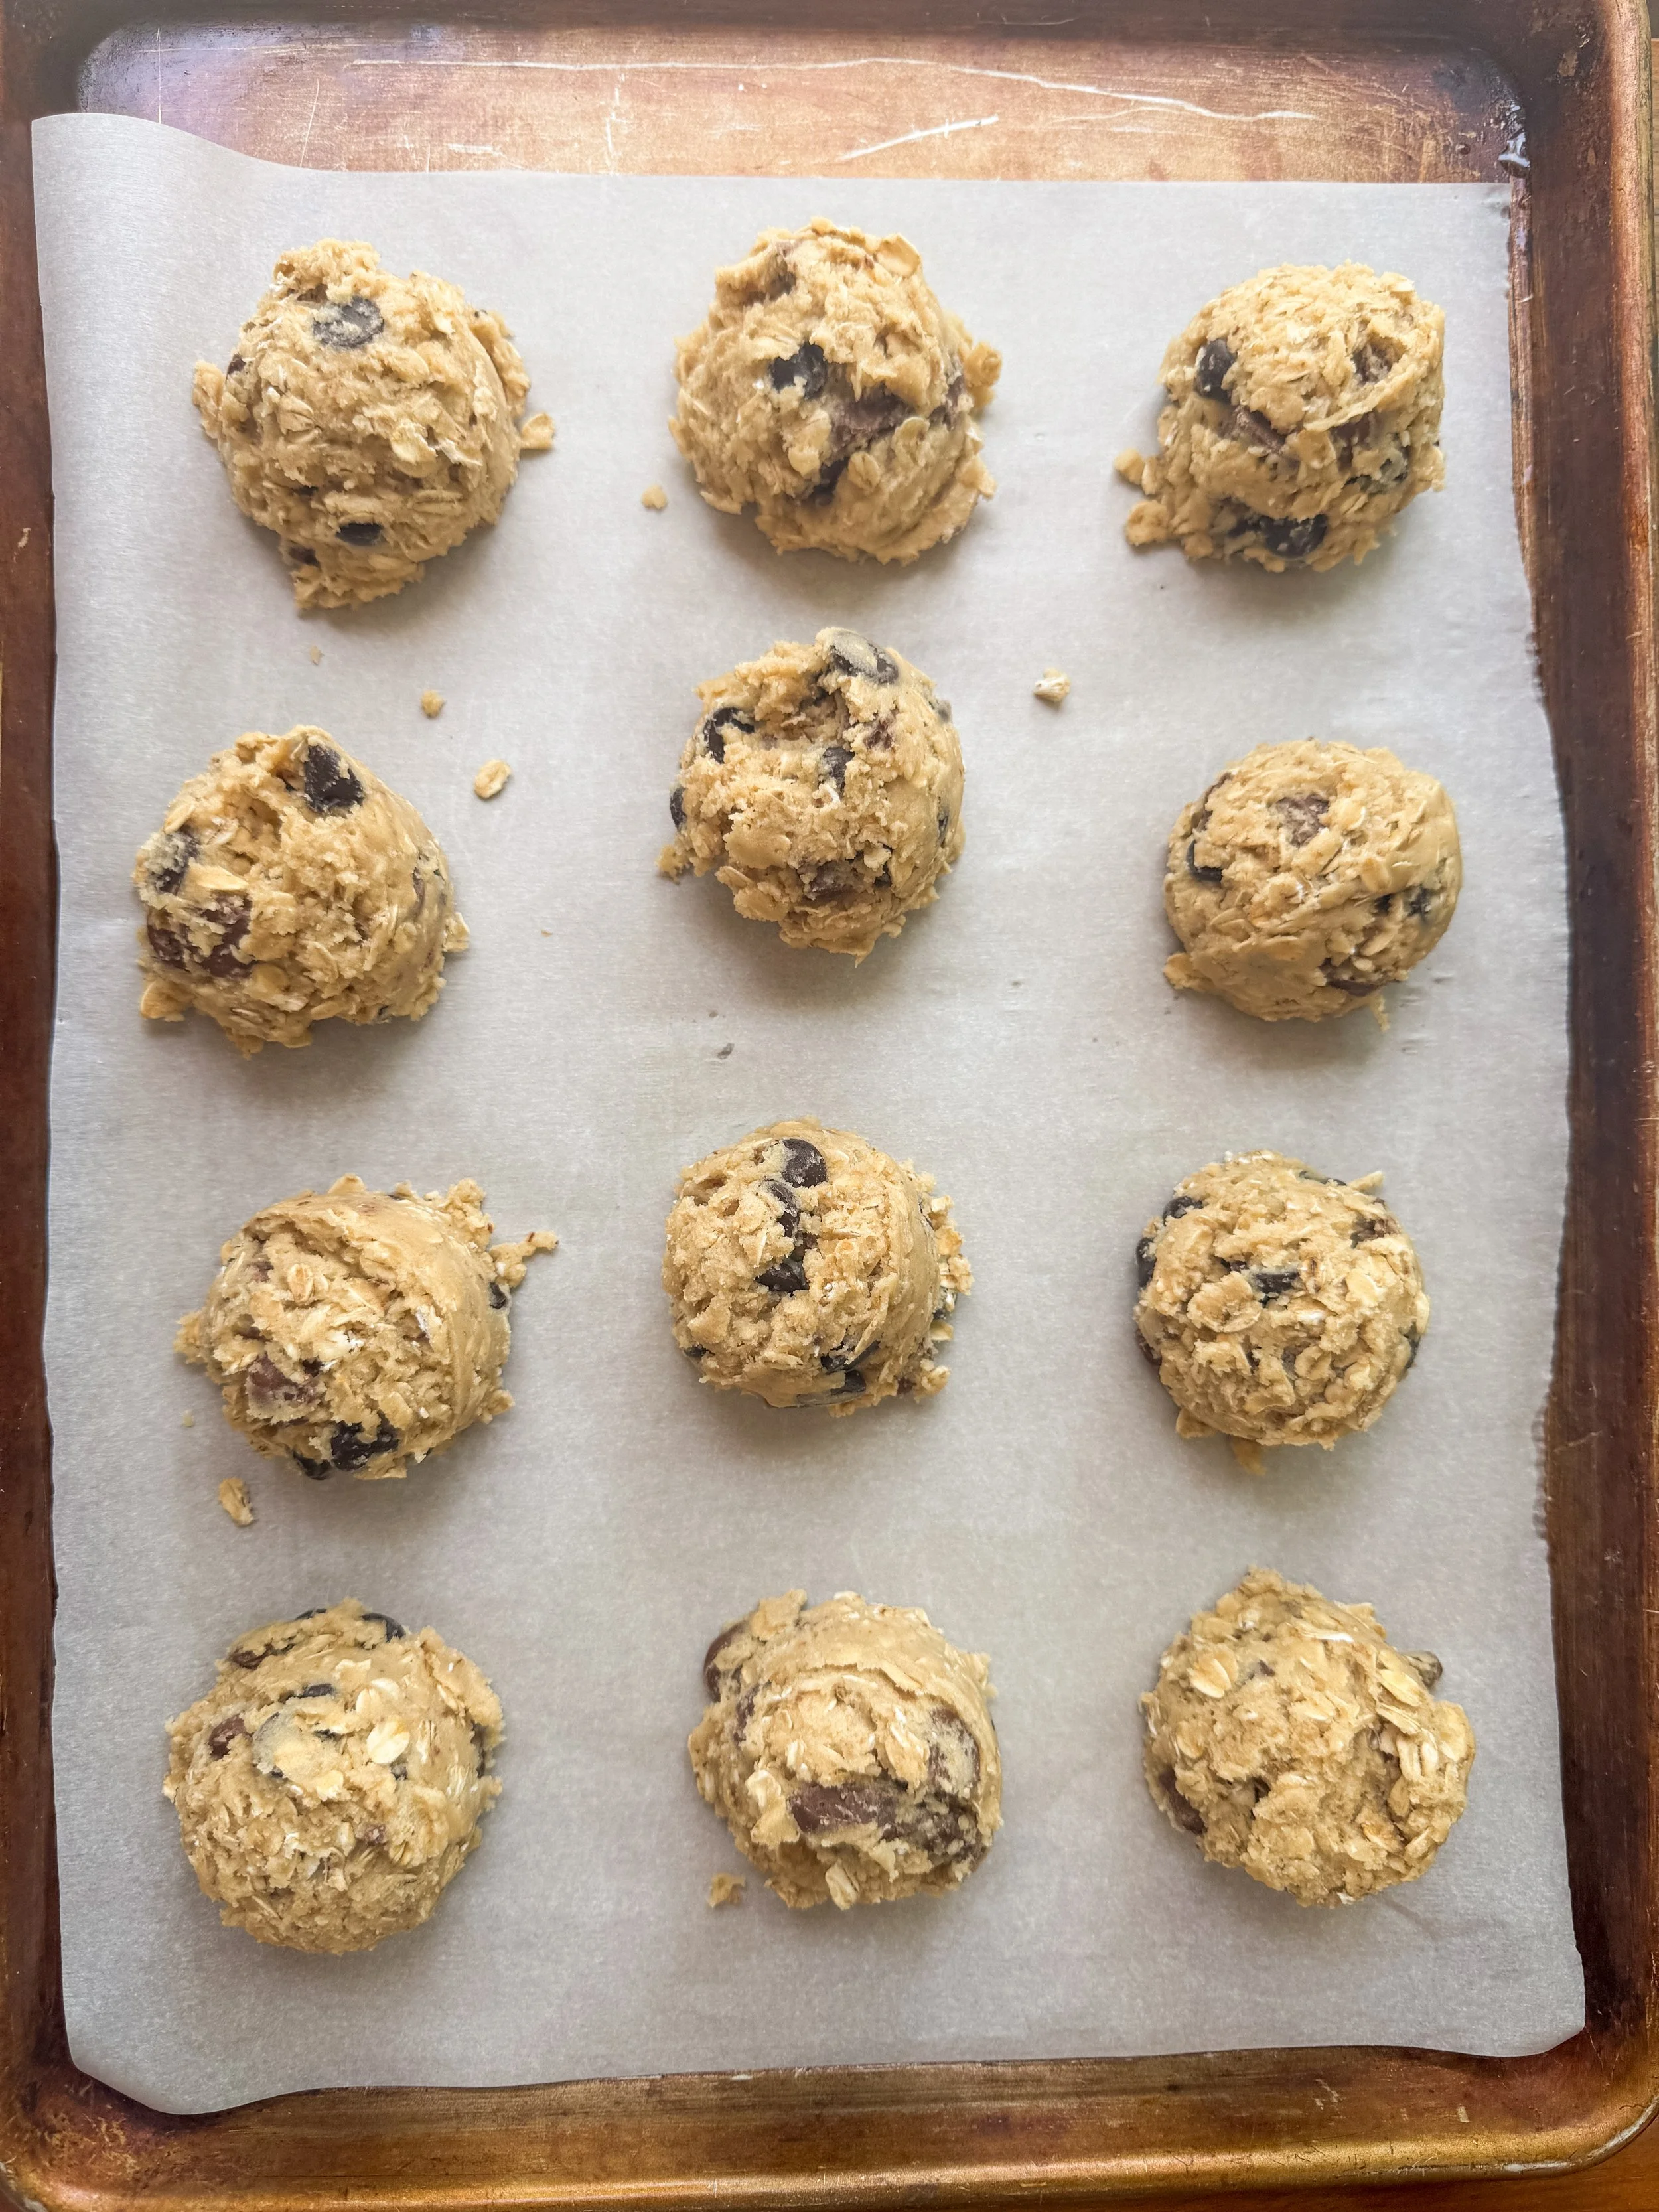
Using a 1/4 c scoop, put 8 dough balls evenly apart on a parchment lined baking sheet. You can bake two sheets at a time.
Bake for 10-12 minutes, rotating halfway through for even baking. Cookies are done when the center only is slightly shiny in the crevices, and the edges have set. These cookies will not brown a lot, just a little bit on the top and sides. You can also bake them on convection for 8-10 minutes at 350°F, but my oven doesn’t have that setting.
Cool for 5-10 minutes before eating, and use a spatula to remove the cookies from the tray (this is a sacred part of the directions, just trust me).

How to Brown Butter
If you’ve never browned butter before, you may feel intimidated, but I promise with a little bit of supervision you’ll know how to zhuzh up an every day ingredient into something even more complex and special.
The process of browning the butter does two things: 1) Cooks off the water in the butter, which means that the resulting browned butter will be about 20-25 grams lighter, and have about 30% less volume than butter that has been simply melted; and 2) Separates the whey, or milk proteins, from the butter fat and toasts the milk protein so that it has a wonderful nutty caramel aroma and flavor (if you’re a food science nerd, this is called the Maillard Reaction, and is the same process that makes perfectly browned grilled cheese so delicious).
If you start the process with butter cold from the fridge, it takes about 5 minutes over a medium heat. The trick with browning butter, is that it can go from browned to burnt in a matter of seconds, even after it is taken off the heat. When I had my home bakery, I had a cookie recipe that I used to make thousands of massive (almost 1/2 lb cookies), and the recipe took a lot of browned butter, so I have had quite a bit of practice, and here is what I have learned:
Use a small - medium stainless steal (not non-stick or glass) saucepan to brown the butter. If you are browning a large amount, then make sure you use a medium-large sauce pan since the butter foams and expands as the water is evaporating.
Once the butter is fully melted and starts to crackle (this is the sound of the water evaporating) watch it very closely. Don’t walk away or multitask or you could miss the window.
Keep an eye on the pan as it is cooking, and rotate it or scrape the sides with a rubber spatula if you notice one part of the pan is browning the butter early.
Use your ears to tell when it is close. Dorie Greenspan described the crackling slowing down to a “polite applause” when it is almost done, and a few seconds after is when I typically remove the pan from the heat.
Another sign it is ready is when it starts to foam and smell nutty, take it off the heat. You won’t be able to see the browning, but trust me it is forming beneath the foam.
If you move the foam aside and can see the bottom of the pan, and nothing looks browned yet, do not fret—the carry over heat from the pan will finish the browning. If you wait a few seconds too long and the butter is turning dark brown, then quickly use a rubber spatula to scrape all of the browned bits into an empty bowl before the residual heat from the pan over cooks it.
Be careful adding any other ingredients to it, if it has moisture, it will seize, and the steam can burn.
Wait a few minutes for the pan to cool before using a rubber spatula to scrape all of the lovely brown bits you can into a heat proof bowl
Frequently Asked Questions
Can this recipe be doubled?
The original version of this recipe is doubled, but I scaled it down so that it can be made in most standard home mixers.
Can I make these cookies smaller?
Yes, just use a 2 tablespoon scoop, and bake for about 8 minutes, rotating halfway through. You can bake 24 cookies to a pan.
Can I make this ahead of time?
The cookies still taste fresh for about 72 hours after baking, but the cookie dough does not freeze well. If you want to make them ahead, they do store well fully baked in the freezer in an airtight container. You can eat from frozen if your teeth are strong enough or you can put in the microwave for about 15 seconds to thaw them out.
Can this recipe be made gluten-free?
I have not made this recipe with a gluten-free flour blend, but I have had great success with King Arthur Flour Gluten Free Bread Flour* (affiliate link). However, this flour still contains wheat, and is not safe for people with wheat allergies.
Can I make this with raisins instead of chocolate chips?
Growing up, we never let raisins near our cookies, though I understand the instinct since oatmeal and raisins are most often found together in cookies. If you want to do raisins, replace the chocolate chips with 1 1/2 cups raisins and add 2 teaspoons of ground cinnamon when you add in the rest of the dry ingredients.
NOTES: This recipe was updated on August 20th, 2025 so that the volume measurements for the flour and oats were more accurate (weight measurements stayed the same), and the note about vanilla being optional was removed.

Chocolate Chip Oatmeal Cookies
My mom’s famous oatmeal chocolate chip cookies have chewy edges and a gooey center when eaten just out of the oven. When they are fully cooled the chewy oatmeal and Hershey’s chocolate chunk make this taste like an indulgent nostalgic treat (that might be a little healthy? The oatmeal doesn’t count for nothing). Makes about 2 dozen cookies.
Ingredients
Instructions
- Preheat the oven to 350°F, and line two cookie sheets with parchment paper (you technically don't need the parchment, but it bakes more evenly when you use parchment).
- If you want to make the cookies immediately, prepare a large bowl with a couple of handfuls of ice and cold water, then place a medium sized metal bowl in the ice water. If you don't want to do this step and have more time, see the notes section.
- Brown the butter in a small saucepan (see explanation in blog post on browning butter if needed). Once the butter starts to foam and the crackling slows down to a polite applause, removed the pan from the heat and pour all of the butter into the metal bowl sitting in the ice bath. Be sure to scrape up all the browned bits from the bottom and get it into the mixing bowl--that's where you'll get the caramel flavor.
- Start whisking immediately with a large balloon whisk. Keep whisking until the butter reaches a soft room temperature consistency, about 2 minutes. If the butter starts to freeze to the sides, remove from the ice bath and continue whisking. When the butter is at the right consistency, it should feel cool and have a whipped appearance. It does not need to be hard.
- Add the chilled browned butter, brown sugar, and white sugar to the mixer and mix on high for 2-3 minutes, scraping the sides with a rubber spatula as needed.
- Add the eggs. Measure half an egg by cracking one egg into a small bowl, scrambling it with a fork, and measure about 2 tablespoons of it. Turn the mixer on medium and mix until eggs are combined.
- Add the vanilla and mix for 30 seconds more.
- Add the baking powder, baking soda, and sea salt*, and mix for thirty seconds. Then add the flour and oats, and mix for another thirty seconds to a minute on low.
- When the flour is almost all mixed in, add the chocolate chips and chocolate chunk, and mix until evenly distributed, about 30 seconds. Do not over mix.
- Using a 1/4 c scoop, put 8 dough balls evenly apart on a parchment lined baking sheet. You can bake two sheets at a time.
- Bake for 10-12 minutes, rotating halfway through for even baking. Cookies are done when the crevices are still a little shiny, there is slight browning on the top an sides, and the edges have set. These cookies will not brown a lot.
- Cool for 5-10 minutes before eating, and use a spatula to remove the cookies from the tray.
Notes
If you are using salted butter, reduce salt by 1/2 teaspoon.
If you don't want to whisk the butter: Alternatively, you could let it cool to room temperature until it is solid (it will have two separate layers), or transfer to a bowl and chill in the freezer for about thirty minutes until it solidifies but still gives when you push into it.